
-
📂 Notes
Spooky month is upon us 👻 From: https://infosec.exchange/@catsalad/115297363682497652
-
📂 Notes
Started playing Alien: Isolation in the spirit of Halloween. Already scared the crap out of me with Alien’s first appearance -skewered me, it did. Something tells me I’ll be back to this airlock at some point.
-
📂 Notes
I’m seriously considering the move from WordPress to ClassicPress.
-
📂 Notes
I just listened to a song off of the Death Stranding 2 soundtrack — “To the wilder”. Now i need to replay that game again. But before that gonna finally brave up and do Alien Isolation.
Fediverse Reactions
-
-
📂 Notes
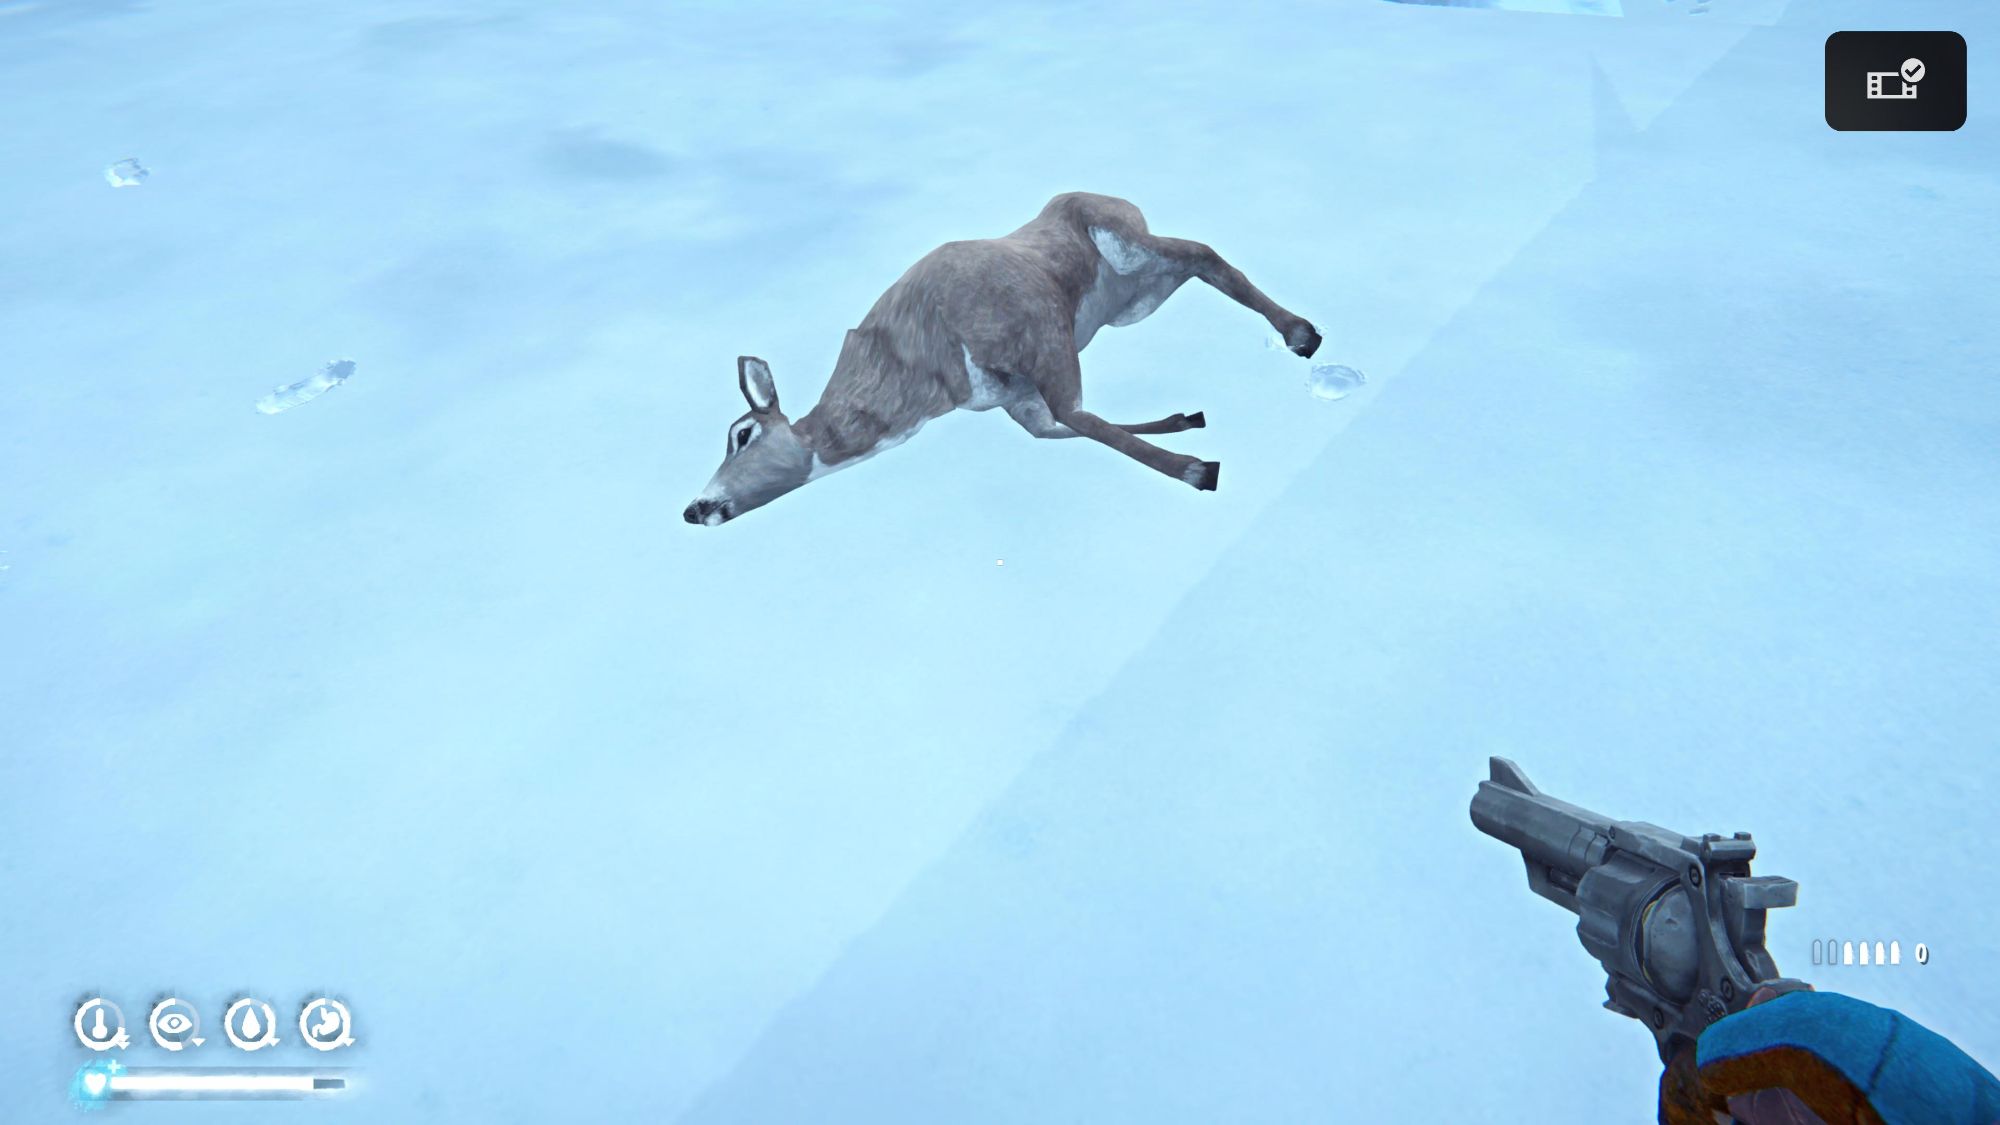
First Death – The Long Dark
I survived for 26 days before being taken out by the cold. I felt it in my bones.
-
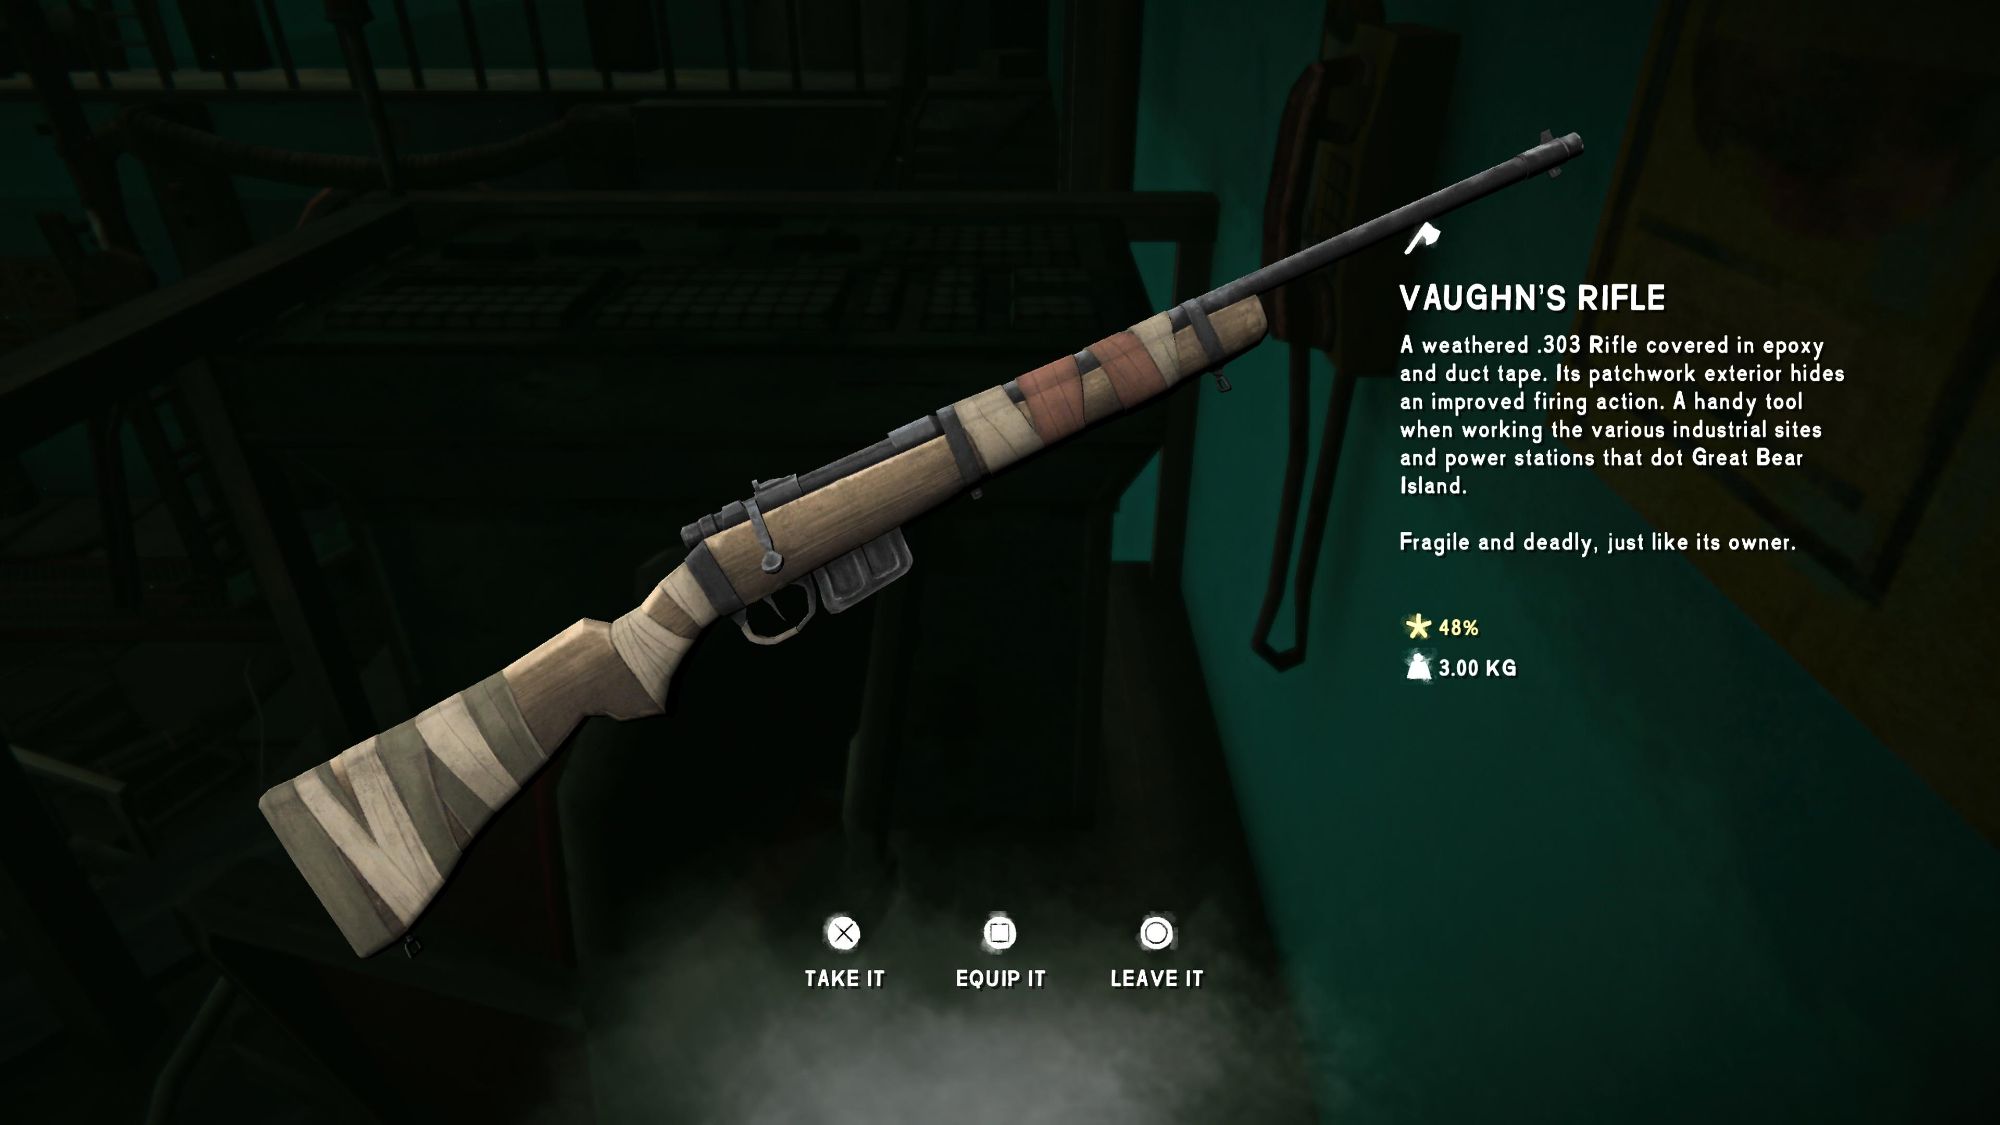
Found Vaughn’s Rifle
Found this rifle whilst making an initial search of the upper part of the Carter Dam. Looking forward to kitting up and fully exploring the area.
-
-
📂 Notes
So happy that Jimmy Kimmel back on the air. Very surprised that Disney inc. took the high road. Well, as high as they could after initially taking him off the air. T_rump is gonna being pissing blood lol.
-
-
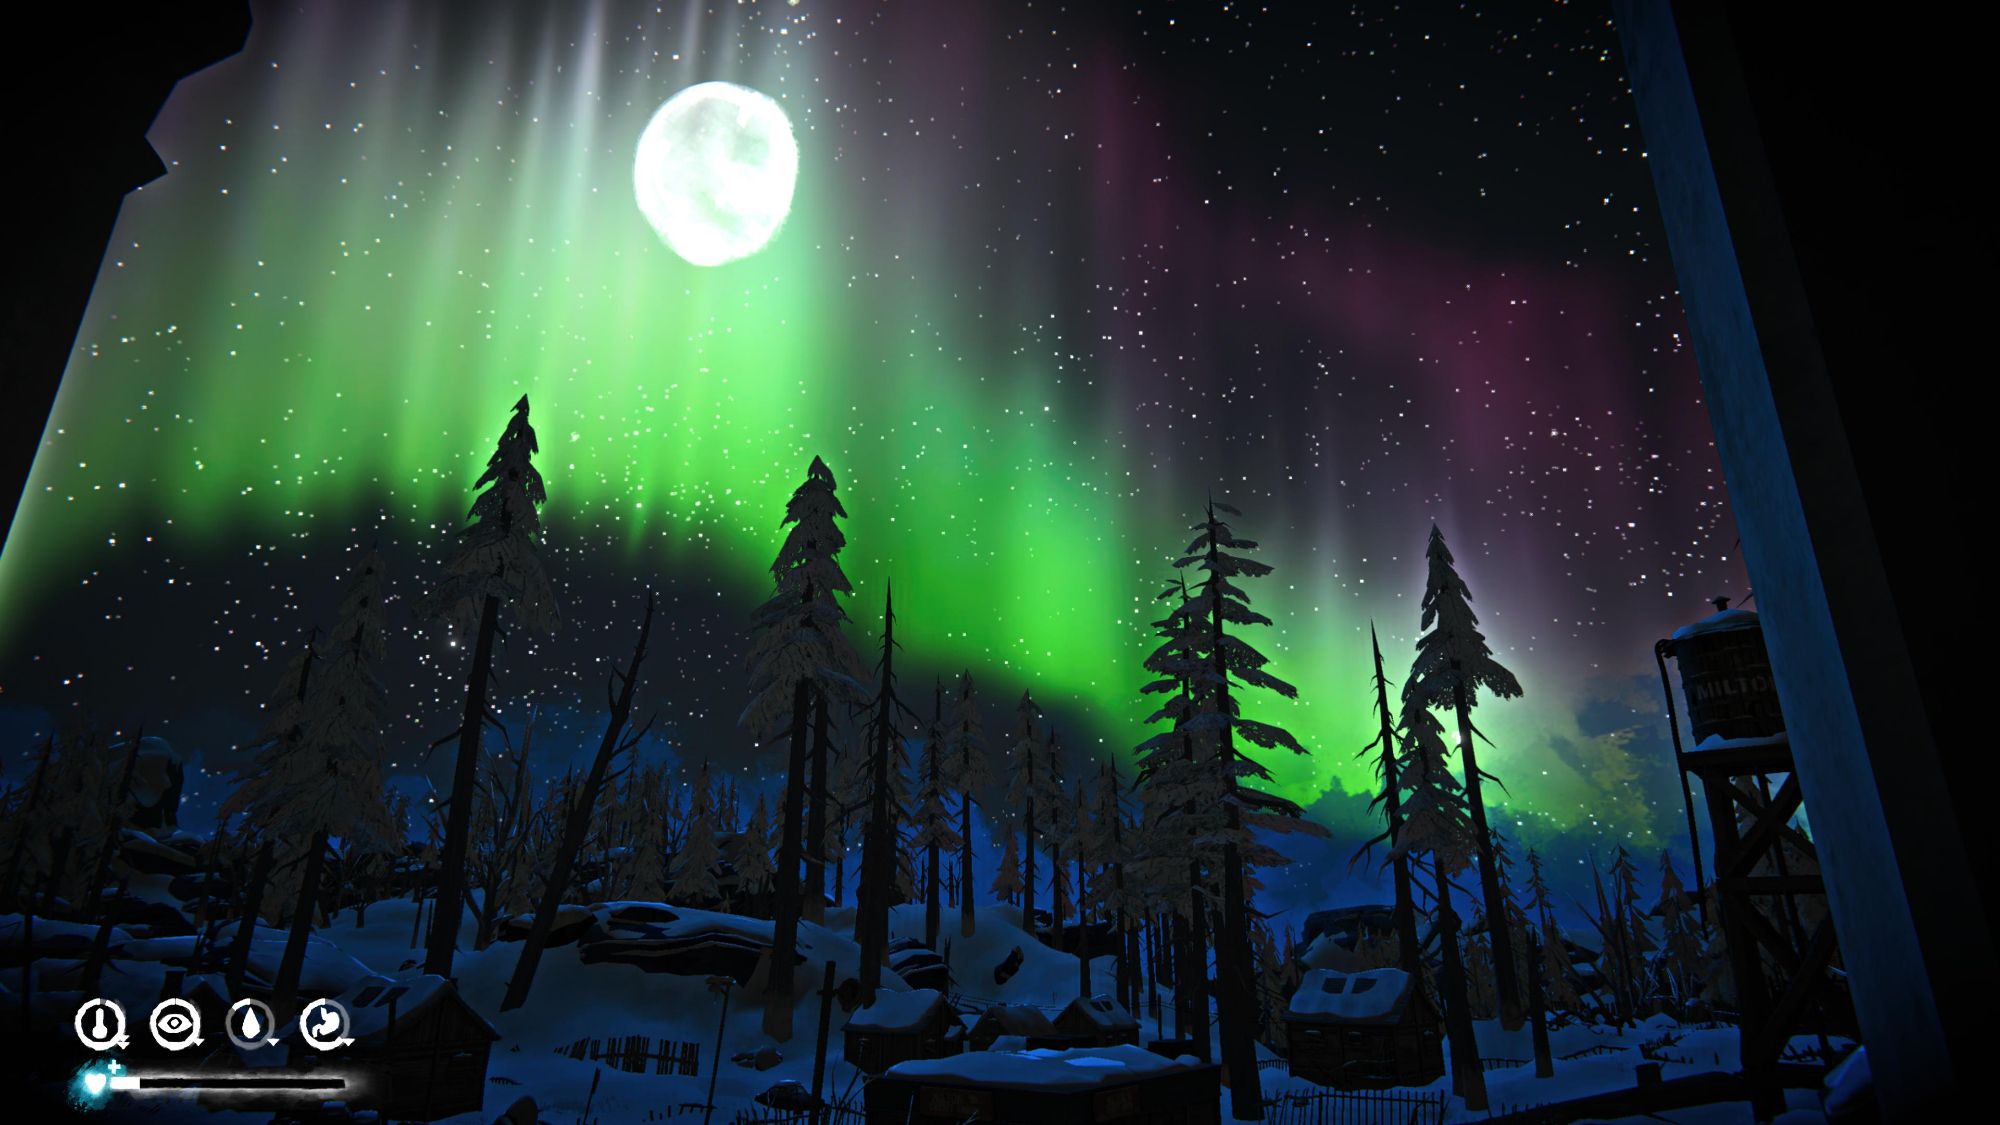
Northern lights of Milton
My starting area of milton. A few nights in and I got to see the northern lights. Beautiful.
-
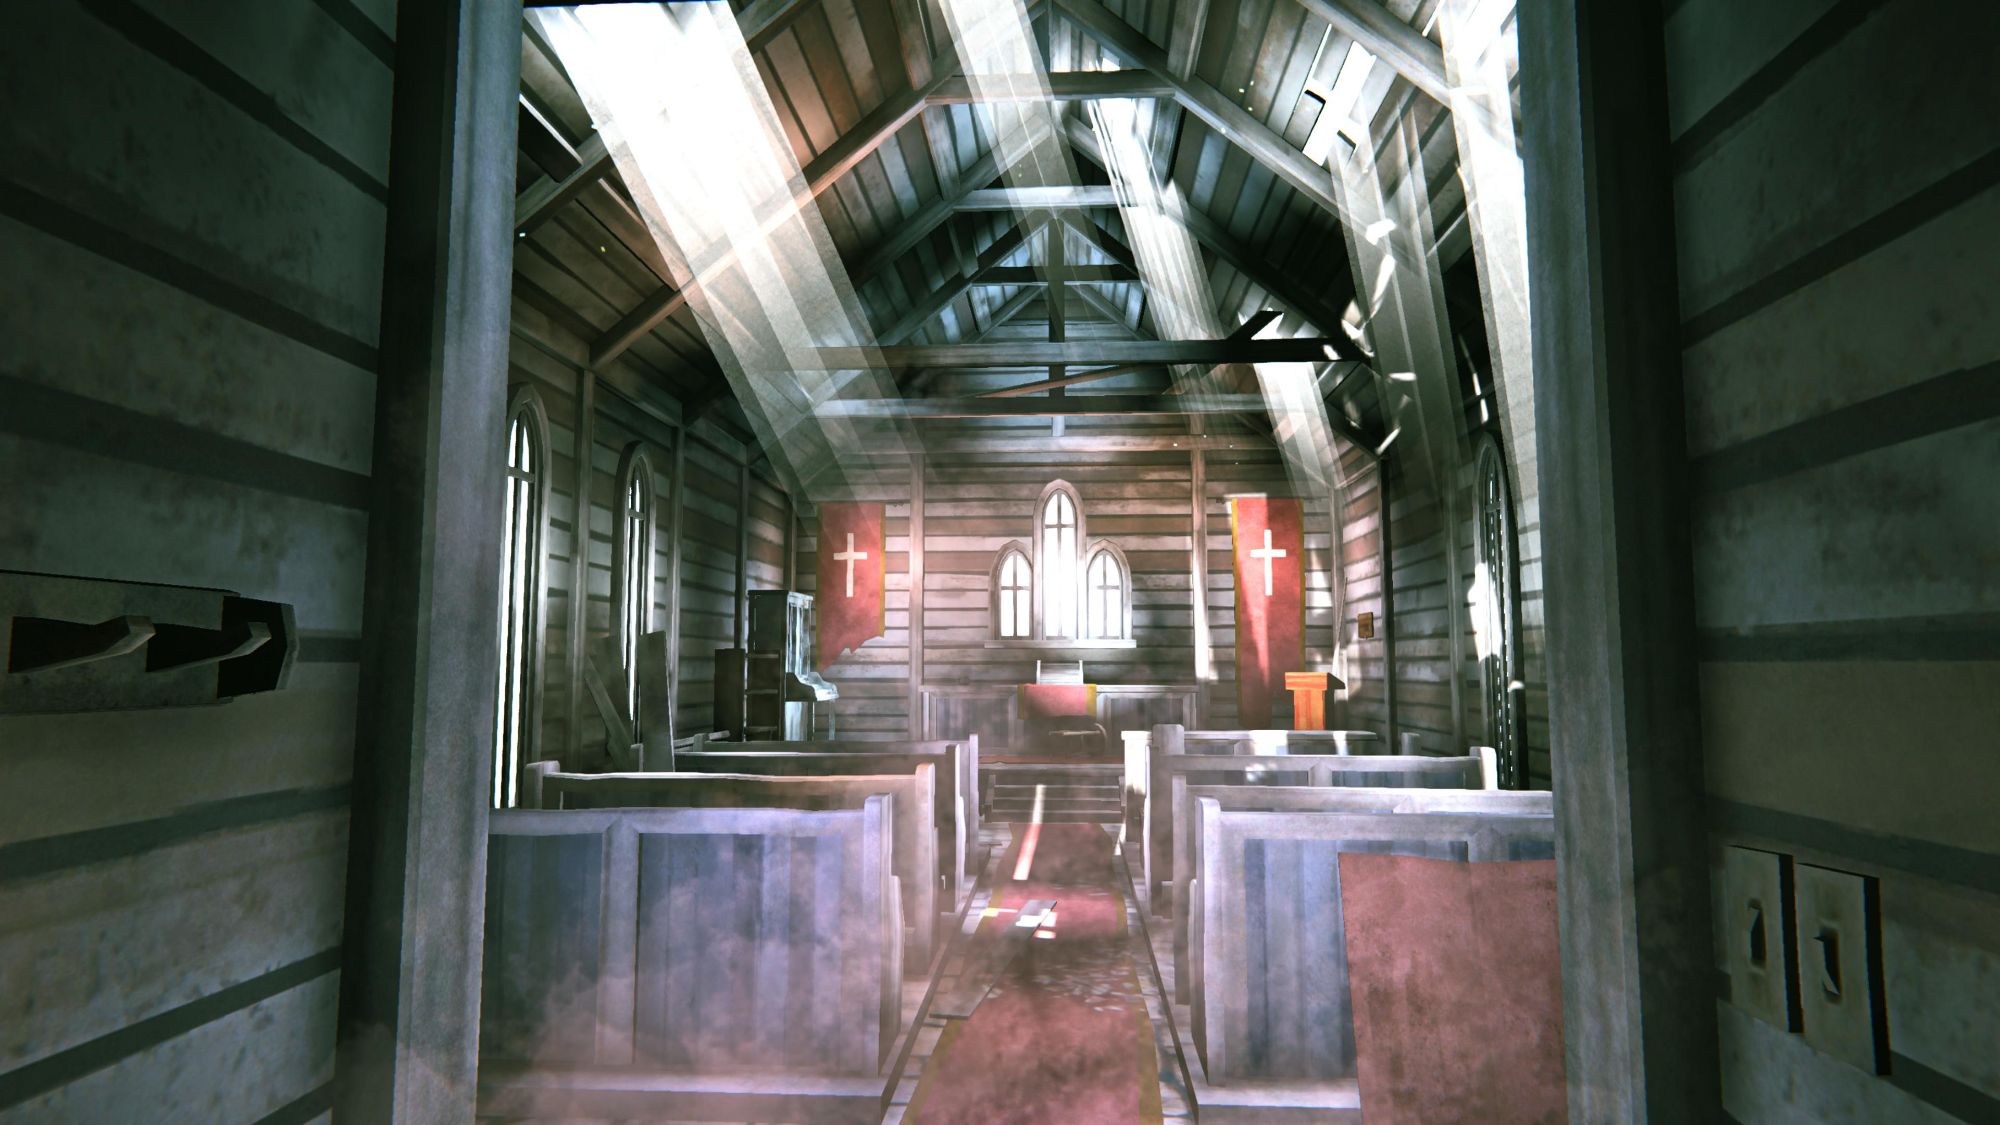
Inside St Christopher’s church
I started a survivor run of The Long Dark. This is the first shot i remembered to grab during those early travels.
-
📂 Notes
Why are people still banging on about Ozzy Osbourne? It’s been a month and there are MUCH bigger things to be enraged and sad about.
sidebar