All of my posts (continued)
-
Setting up mine, and my family’s, Homelab
I’ve opted for what I believe is the easiest, and cheapest, method of setting up my Homelab. I’m using my old work PC which has the following spec: Quad core processor — i7, I think. 16gb of RAM 440GB ssd storage (2x 220gb in an LVM setup) A USB plug-in network adapter (really want to…
-
Gutted that I’m now all up to date with Taskmaster. Only discovered it a month or so ago and been binging it.
-
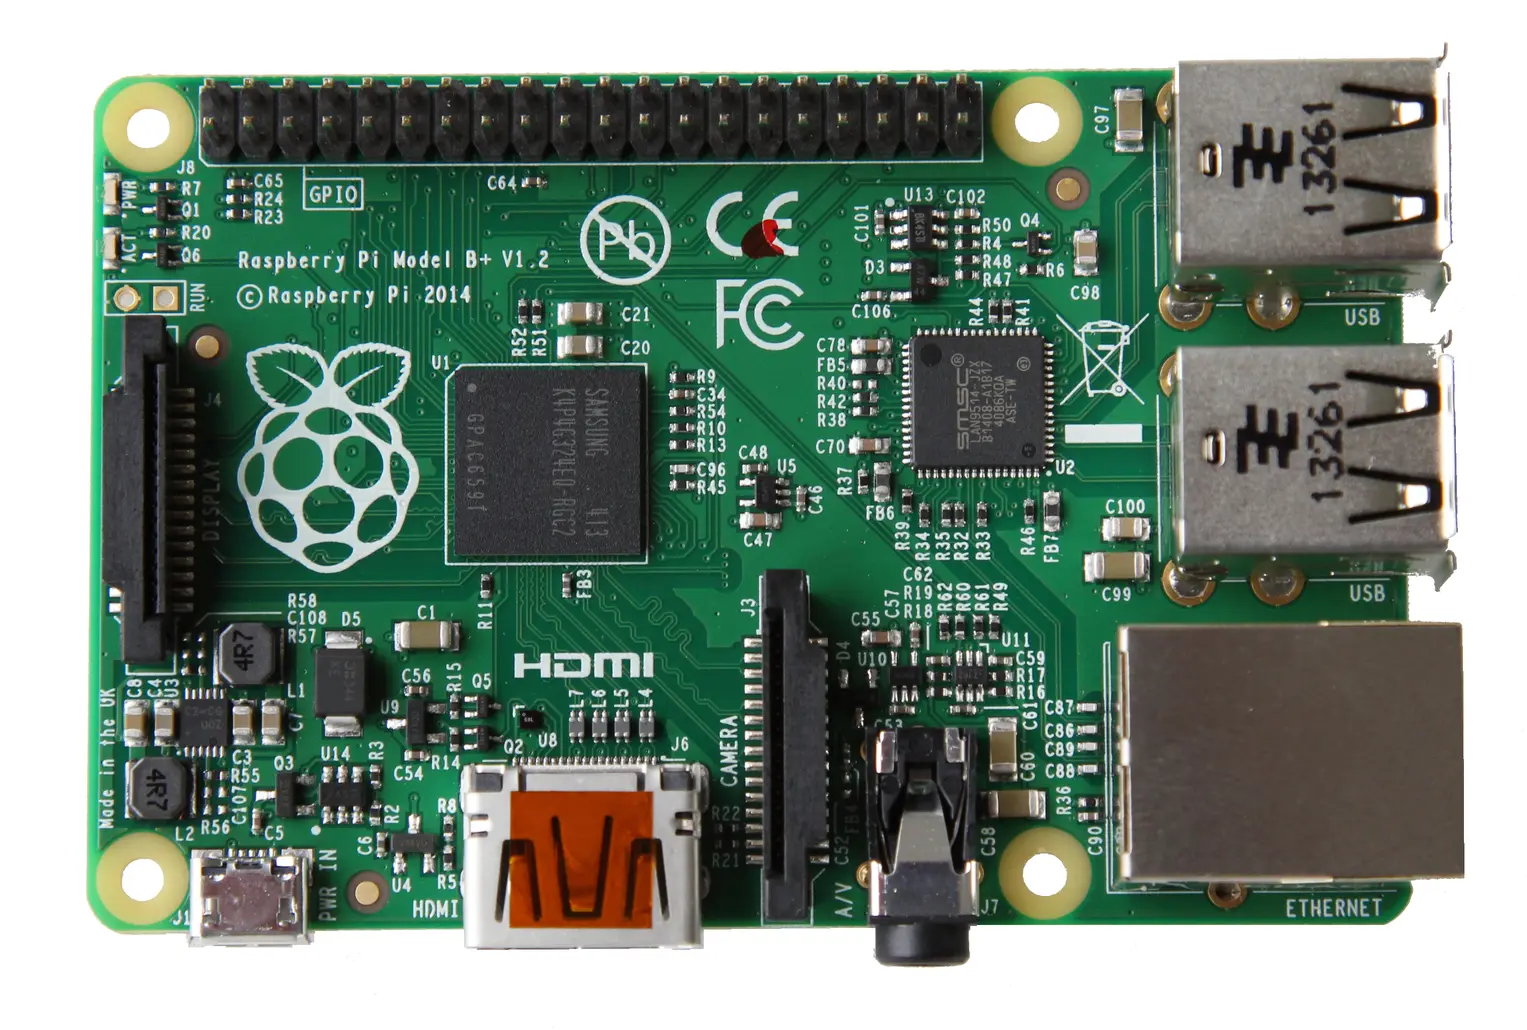
I’m now running pi-hole through my Raspberry Pi 2b. It’s both amazing and depressing just how many trackers are being blocked by it. I even noticed a regular ping being made to an Amazon endpoint exactly every 10 minutes. I will try and write up my set up soon, which is a mix of setting…
-
I have decided to get back into tinkering with my Raspberry Pi. I will be blogging my journey as I stumble through my initial playing, through to building out my first proper homelab. This first Raspberry Pi (model 2b) will be initially used as both a wireguard VPN server and a local DNS server.
-
The God Slayer by Otep
I’ve loved Otep’s music since discovering the album “Sevas Tra” — with that insane album cover being the thing that brought me in. Earlier today (yesterday) I listened to the recently-released The God Slayer, made up of half original songs and half covers. Loved it, although Sevas Tra has been — and remains — my…
-
Average Semi-detached house prices in UK by county – Statistical Analysis using R
This is my first data visualization attempt and uses data from HM Land Registry to show to average cost of a semi-detached house in four counties across the past ten years. You can see the full repository for the project on Github. The Code Here I have included the code at the time of writing…
-
Using a single file neovim configuration file
When I first moved my Neovim configuration over to using lua, as opposed to the more traditional vimscript, I thought I was clever separating it up into many files and includes. Turns out that it became annoying to edit my configuration. Not difficult; just faffy. So I decided to just stick it all into a…
-
Don’t stop building
I really enjoy building scripts for my own workflow. I wish I had the skills to build things in the real world, but until then I’ll keep building stuff in the digital space only. Although I love working with PHP and Laravel, it is Bash that has re-ignited a passion in me to just build…
-
Lupo static site generator
What is Lupo? Lupo is a simple static site generator, written in Bash. I built it for myself to publish to a simple website of my own directly from the command line. It was inspired by Rob Muhlestein and his approach to the Zettelkasten method. Installation Running through the following set of commands will install…
-

Using ansible to prepare a digital ocean droplet to host a static website
Preface This guide comes logically after the previous one I wrote about setting up a digital ocean server with Terraform. You can clone my website’s ansible repository for reference. The main logic for this Ansible configuration happens in the setup.yml file. This file can be called whatever you like as we’ll call it by name…
-

Setting up a Digital Ocean droplet for a Lupo website with Terraform
Overview of this guide My Terraform Repository used in this guide Terraform is a program that enables you to set up all of your cloud-based infrastructure with configuration files. This is opposed to the traditional way of logging into a cloud provider’s dashboard and manually clicking buttons and setting up things yourself. This is known…
-

Beyond Aliases — define your development workflow with custom bash scripts
Being a Linux user for just over 10 years now, I can’t imagine my life with my aliases. Aliases help with removing the repetition of commonly-used commands on a system. For example, here’s some of my own that I use with the Laravel framework: You can set these in your ~/.bashrc file. See mine in…