Skip to content
David Peach
Junji Ito Manga Reviews
Gaming
Journal
Programming
All of my posts (continued)
Bought the Horizon Forbidden West tallneck lego.
Posted on
28th May 2022
🎮
Part of
Notes
Fierce
Posted on
18th April 2022
🎮
Part of
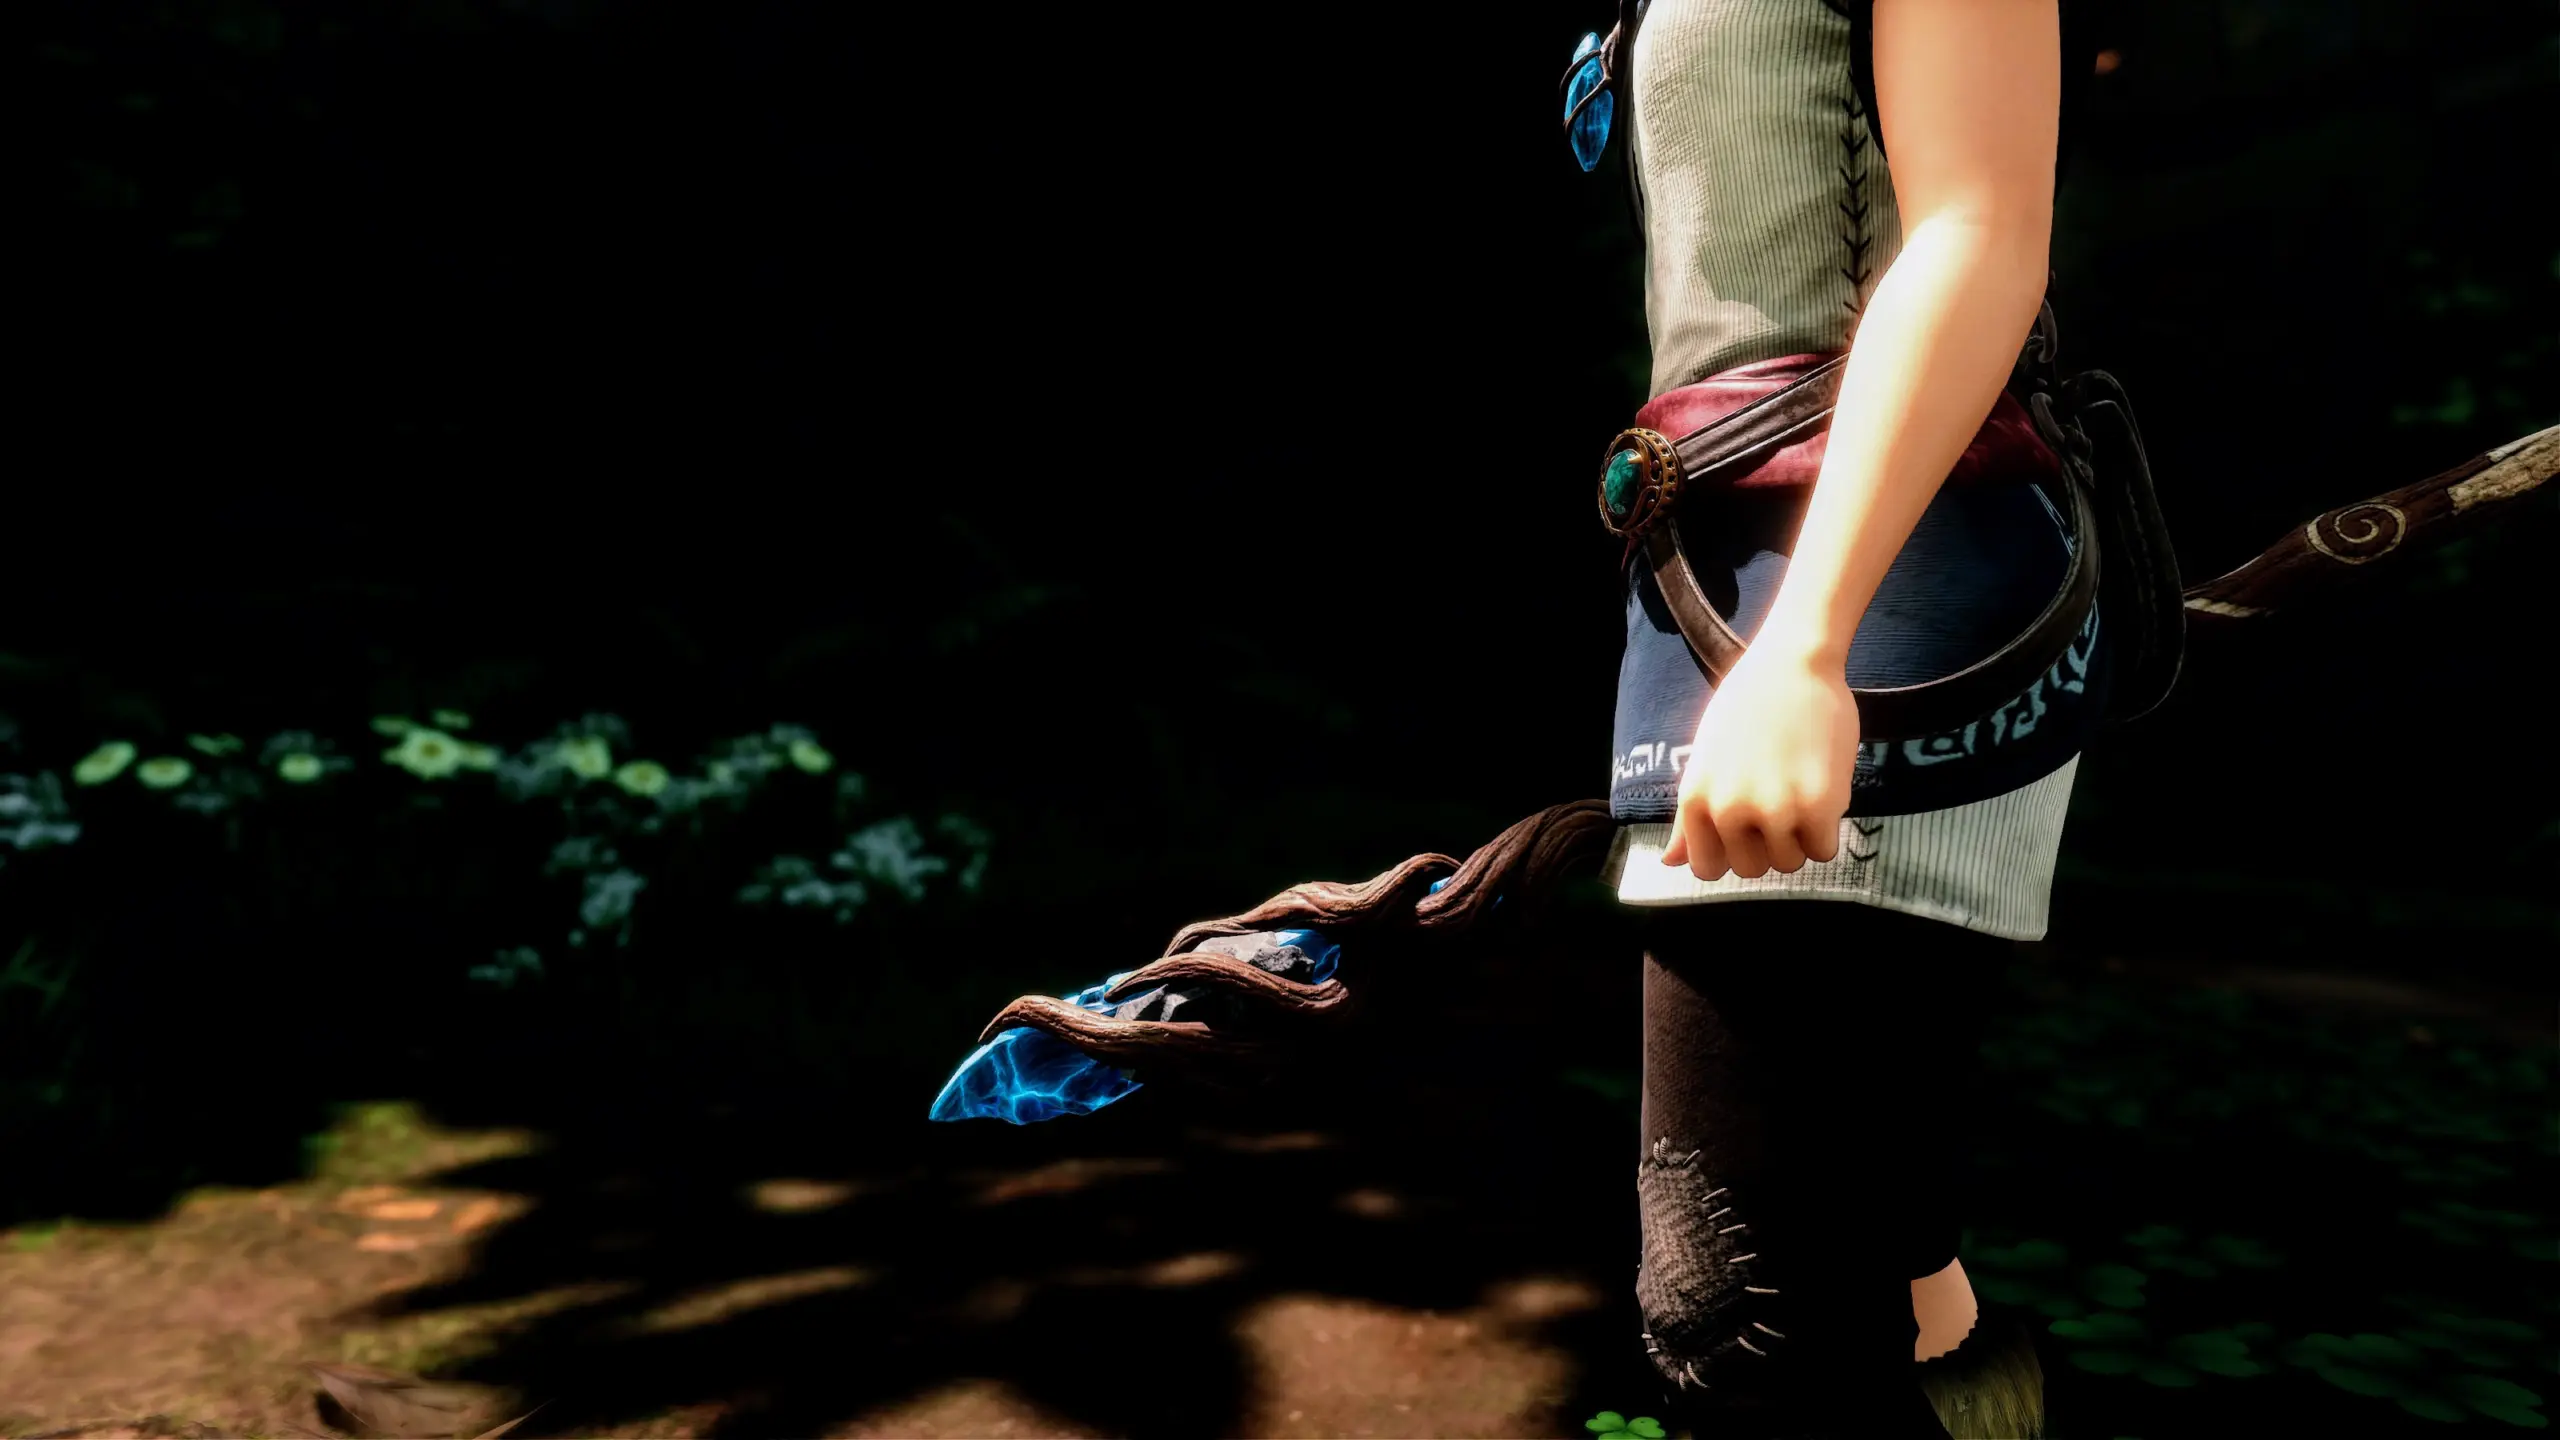
Kena: Bridge of Spirits
Holding her staff
Posted on
18th April 2022
🎮
Part of
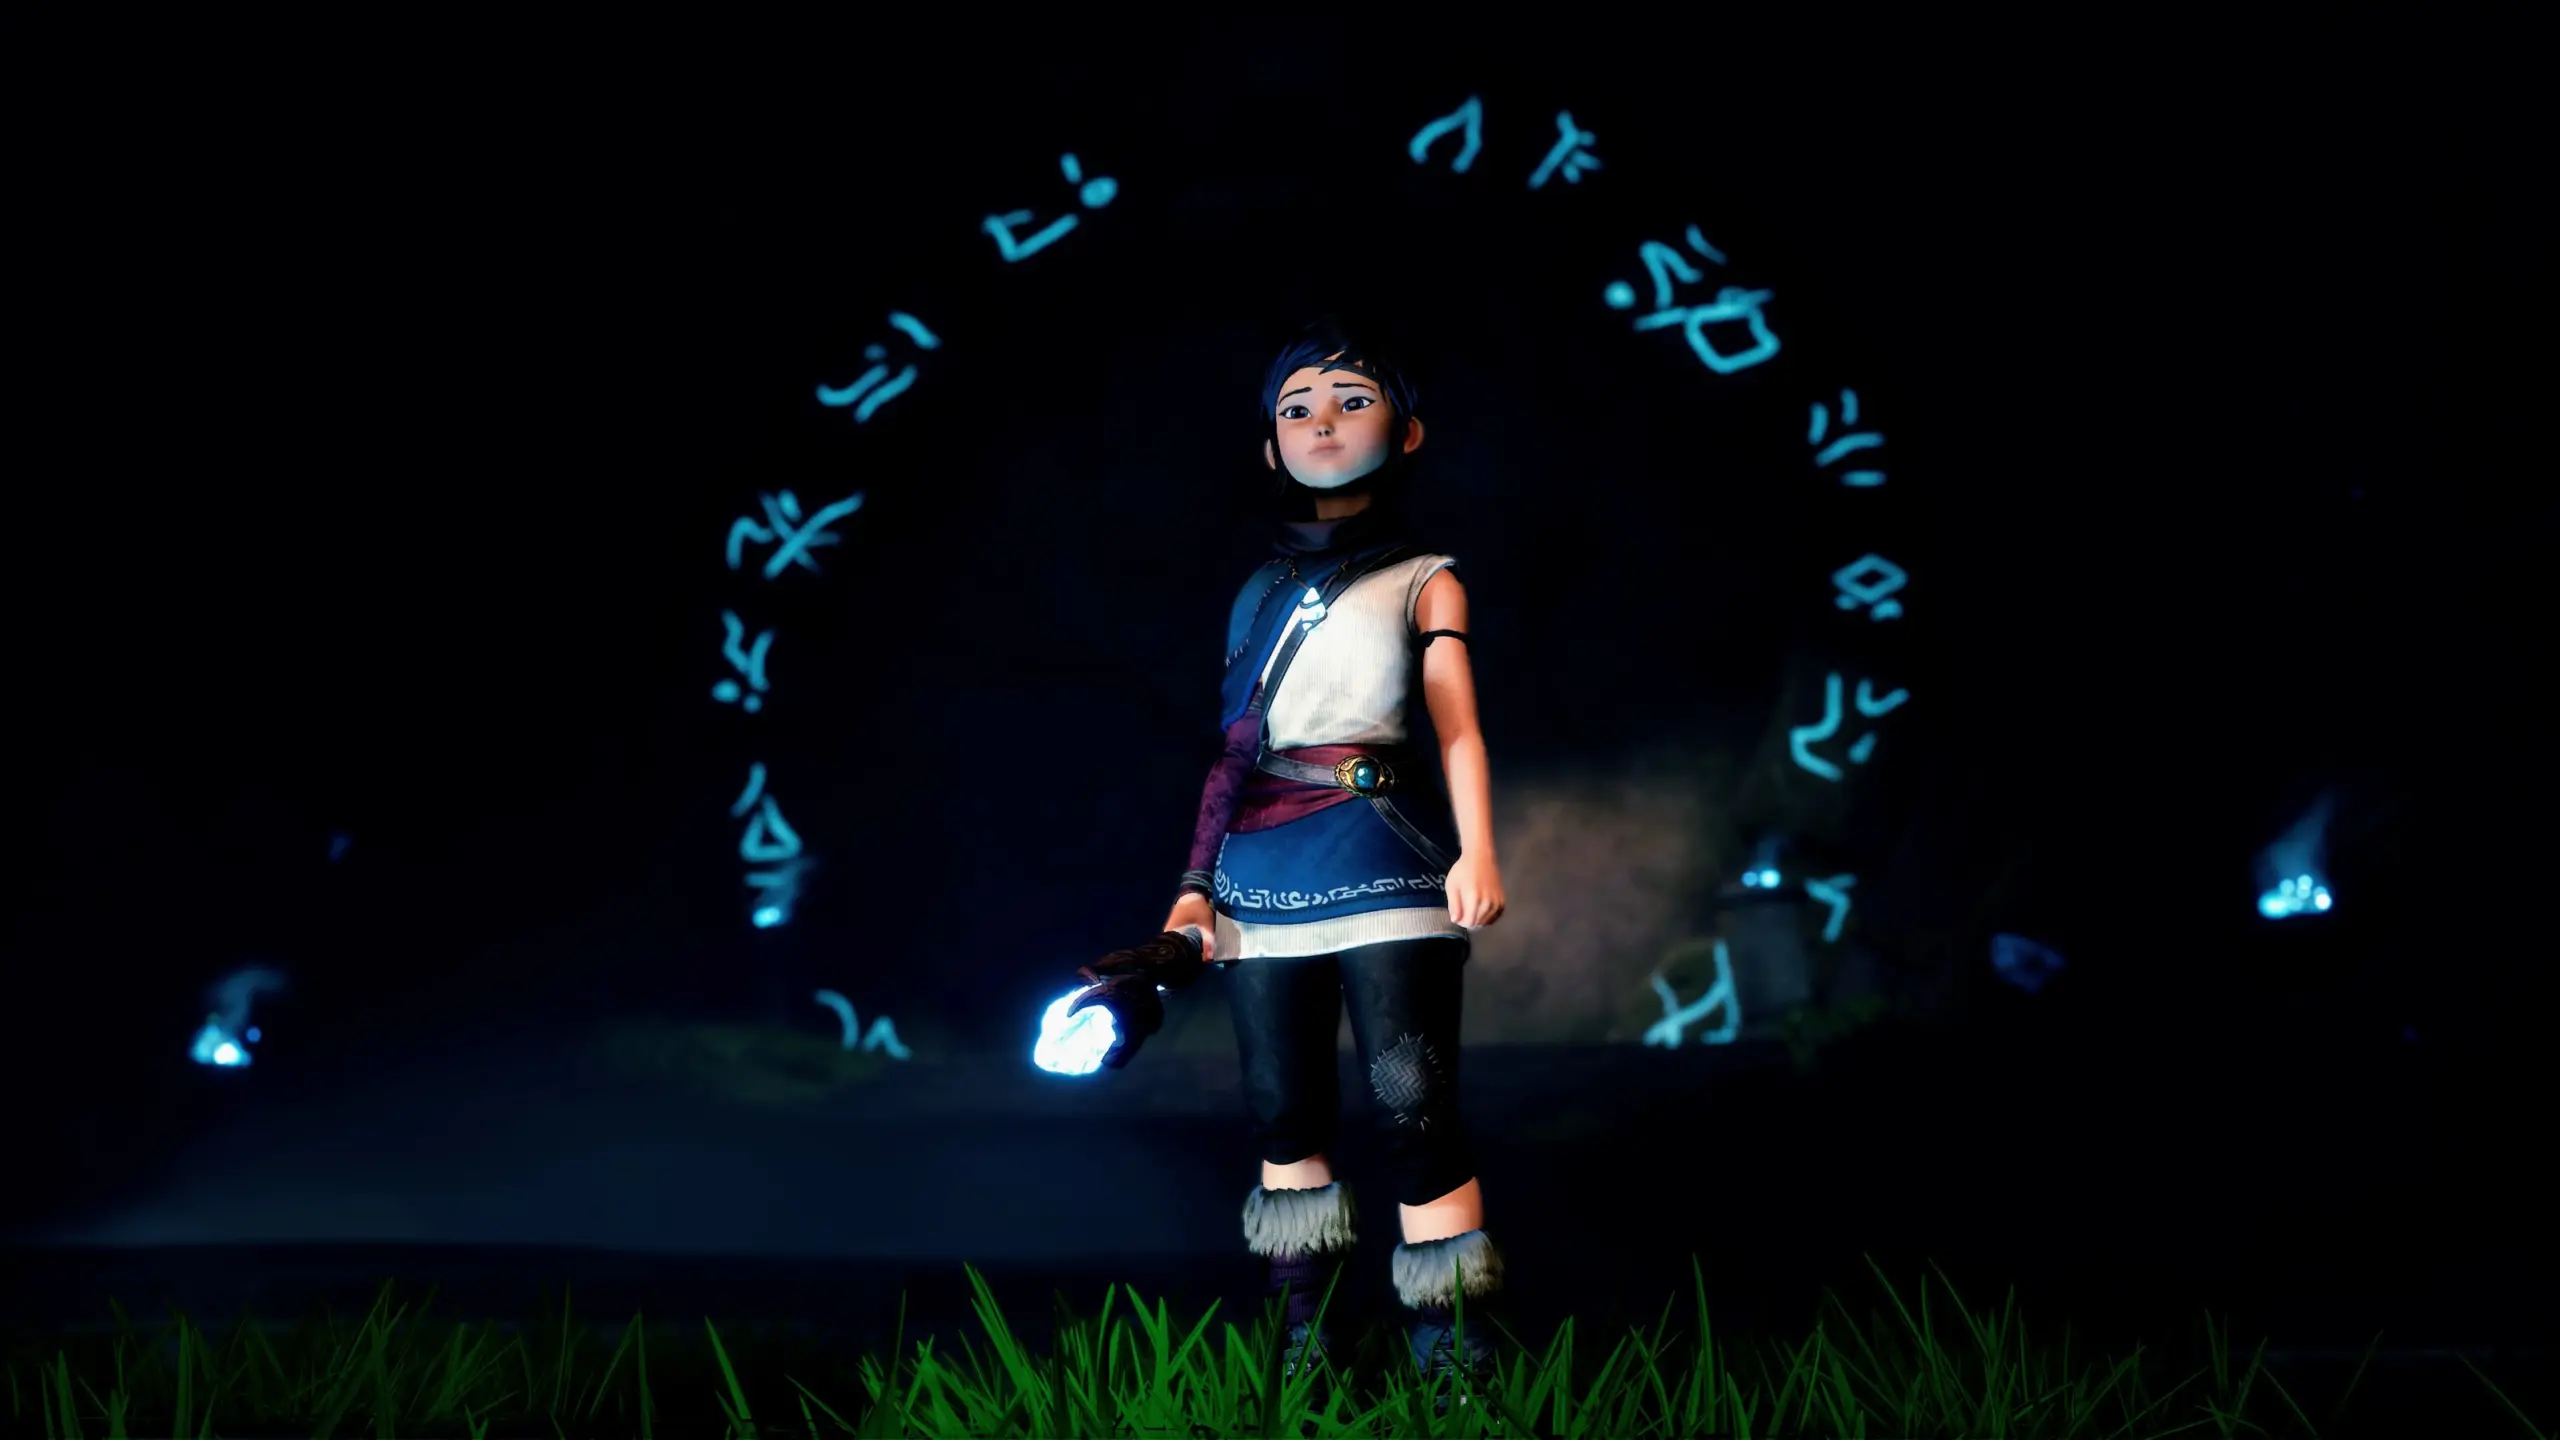
Kena: Bridge of Spirits
Smiling
Posted on
17th April 2022
🎮
Part of
Kena: Bridge of Spirits
Kena looking proud
Posted on
17th April 2022
🎮
Part of
Kena: Bridge of Spirits
Aloy with red headband
Posted on
15th April 2022
🎮
Part of
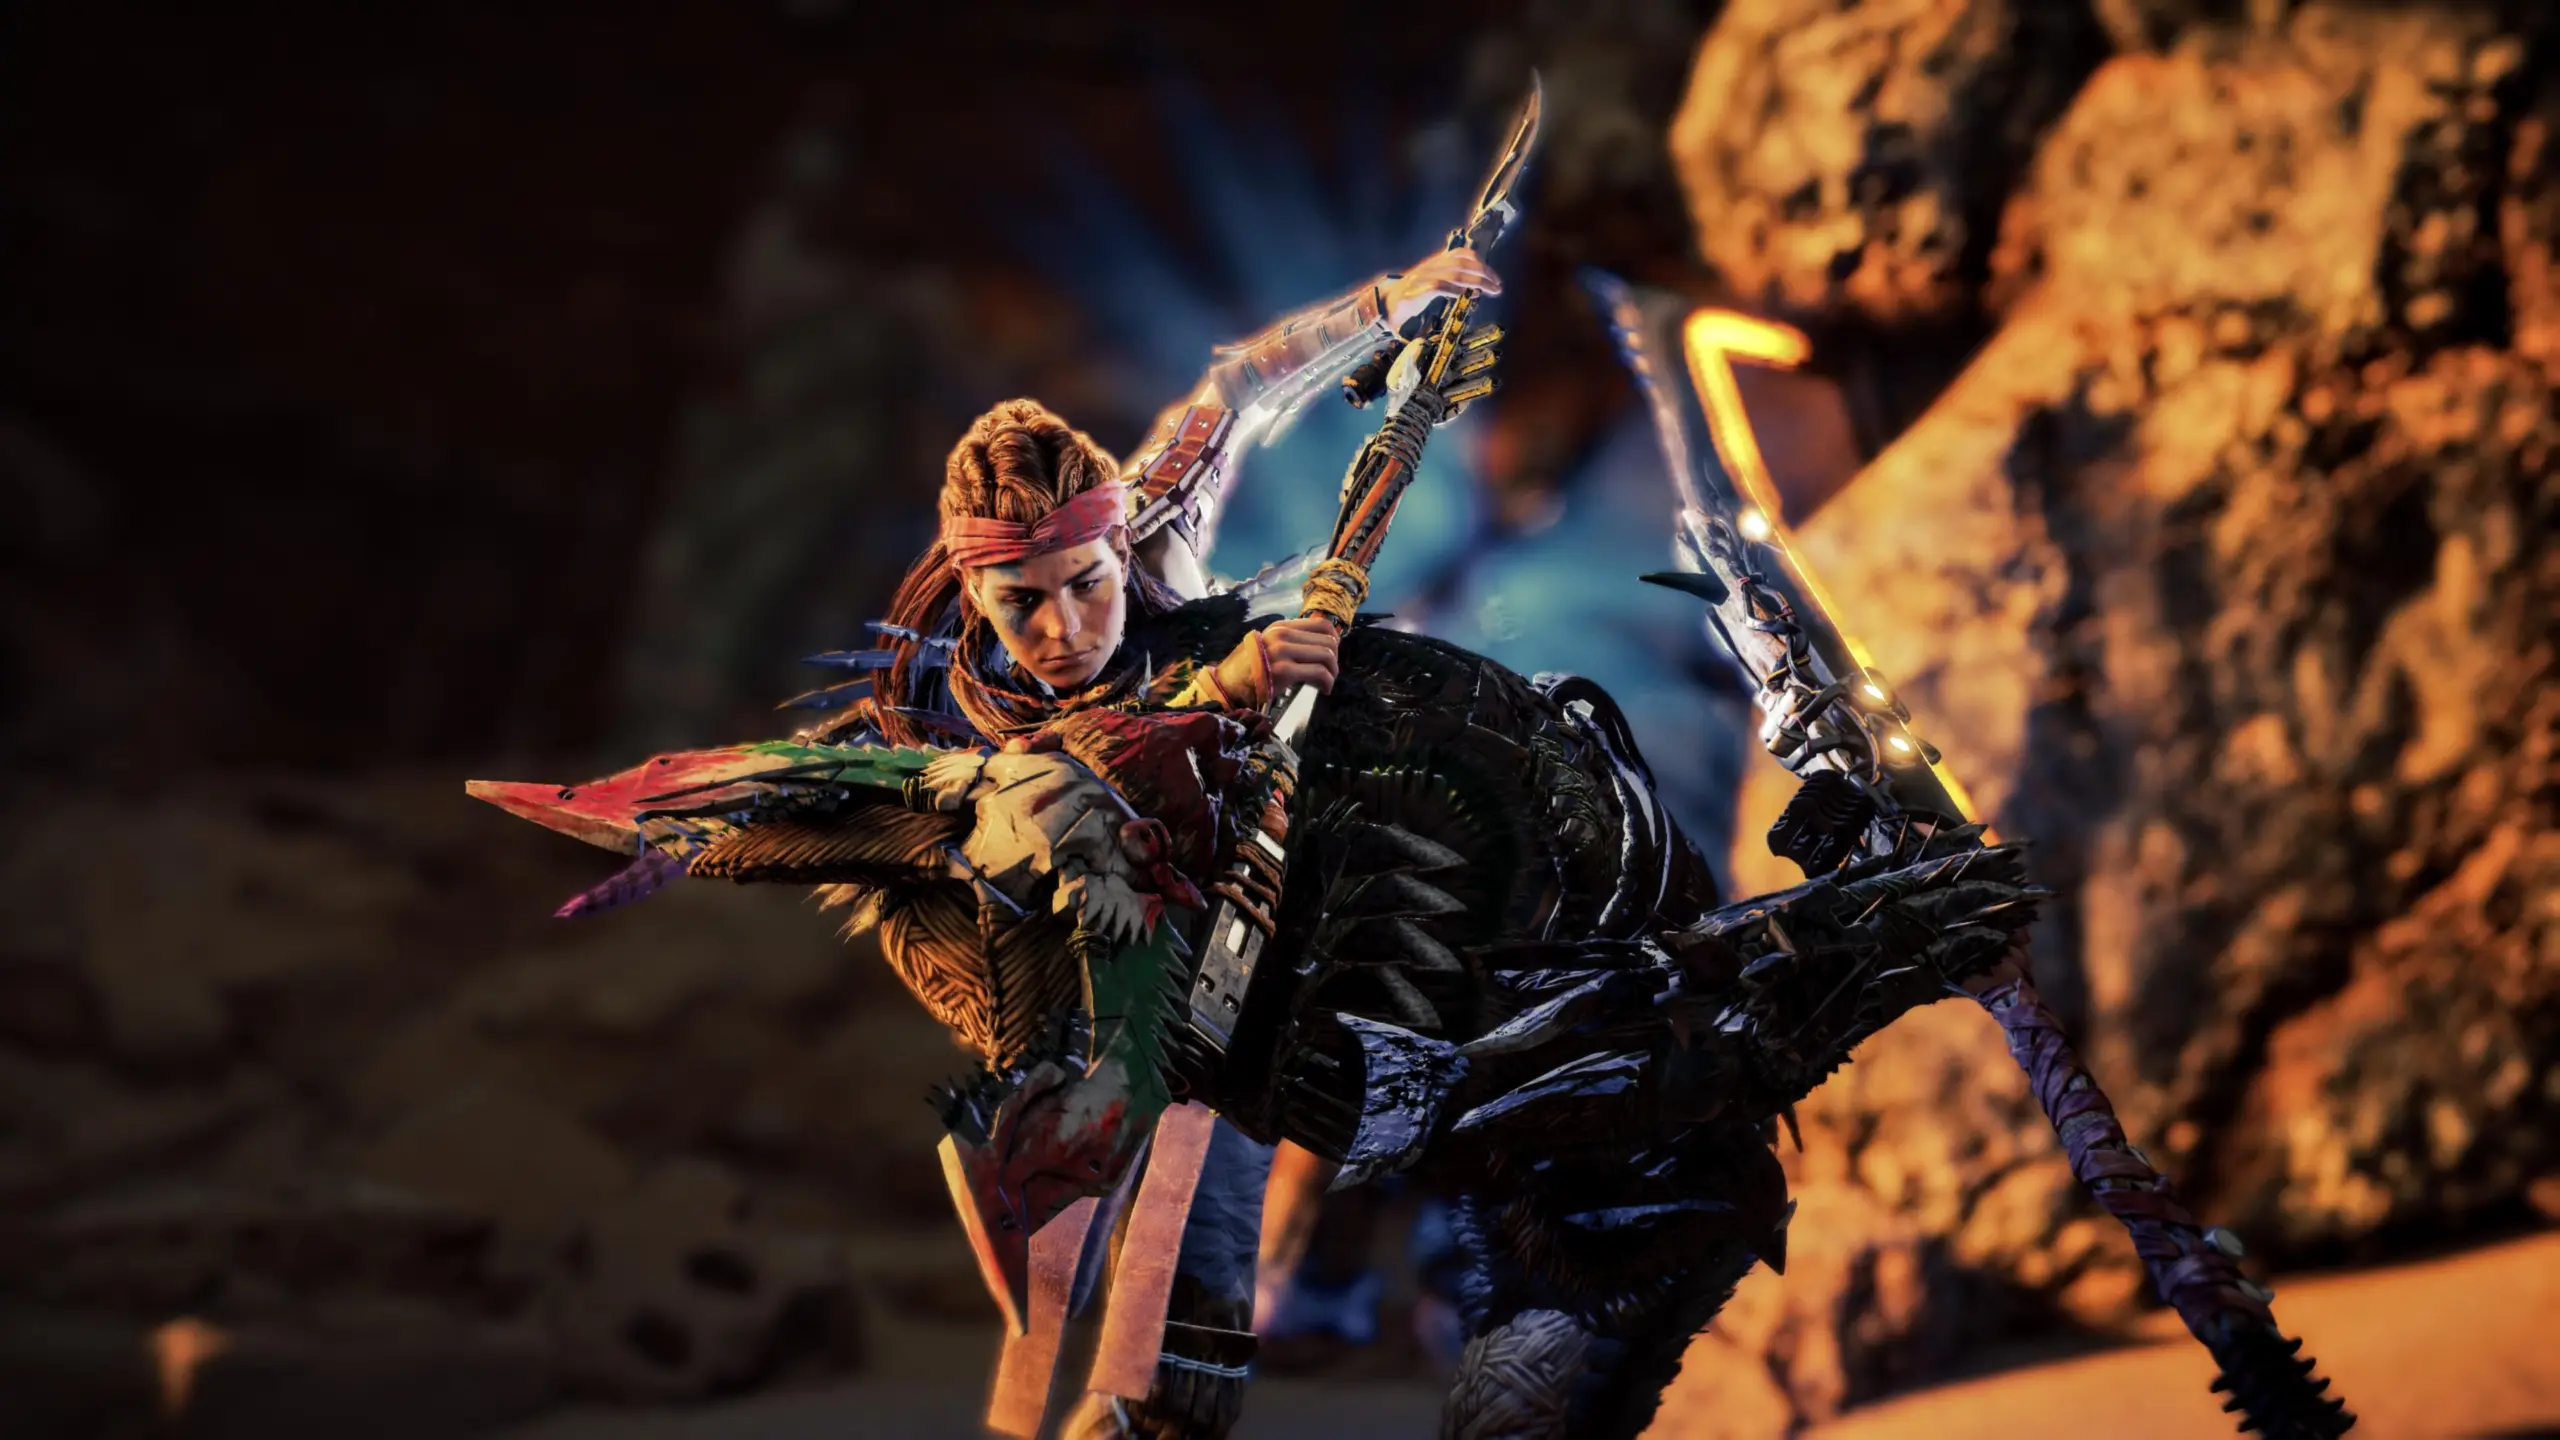
Horizon Forbidden West
Takedown
Posted on
15th April 2022
🎮
Part of
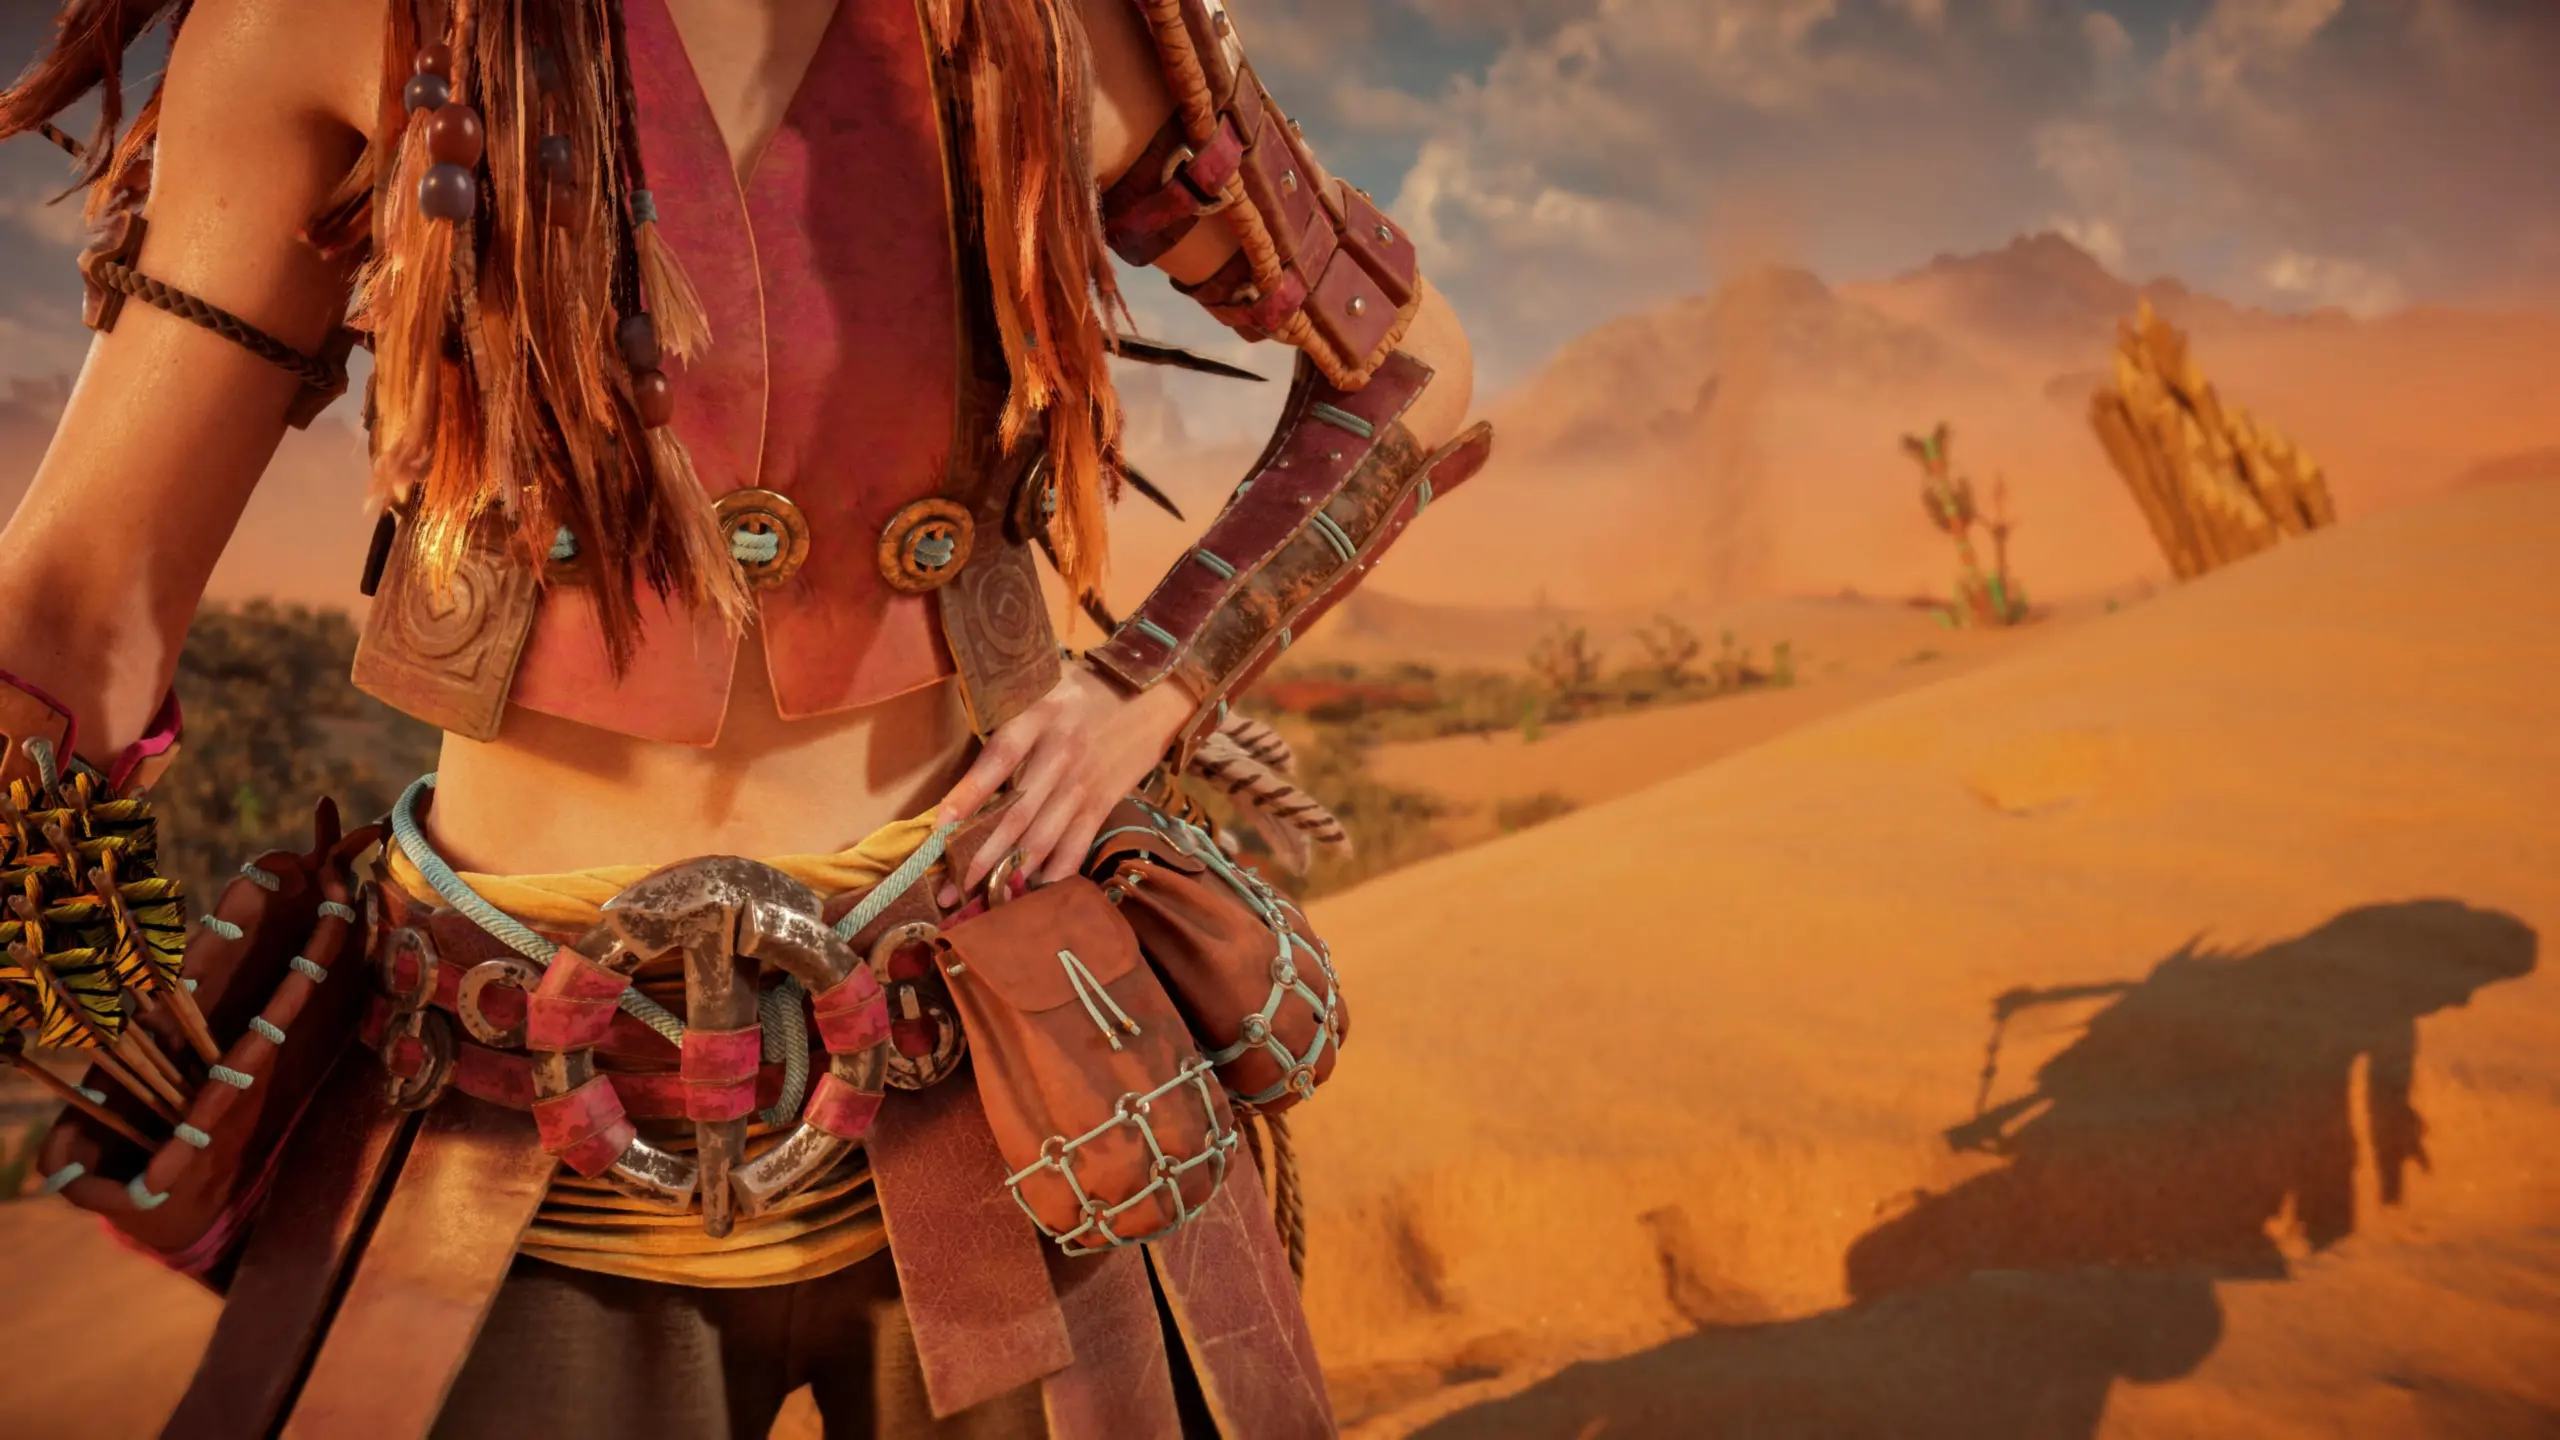
Horizon Forbidden West
Hand on hip
Posted on
15th April 2022
🎮
Part of
Horizon Forbidden West
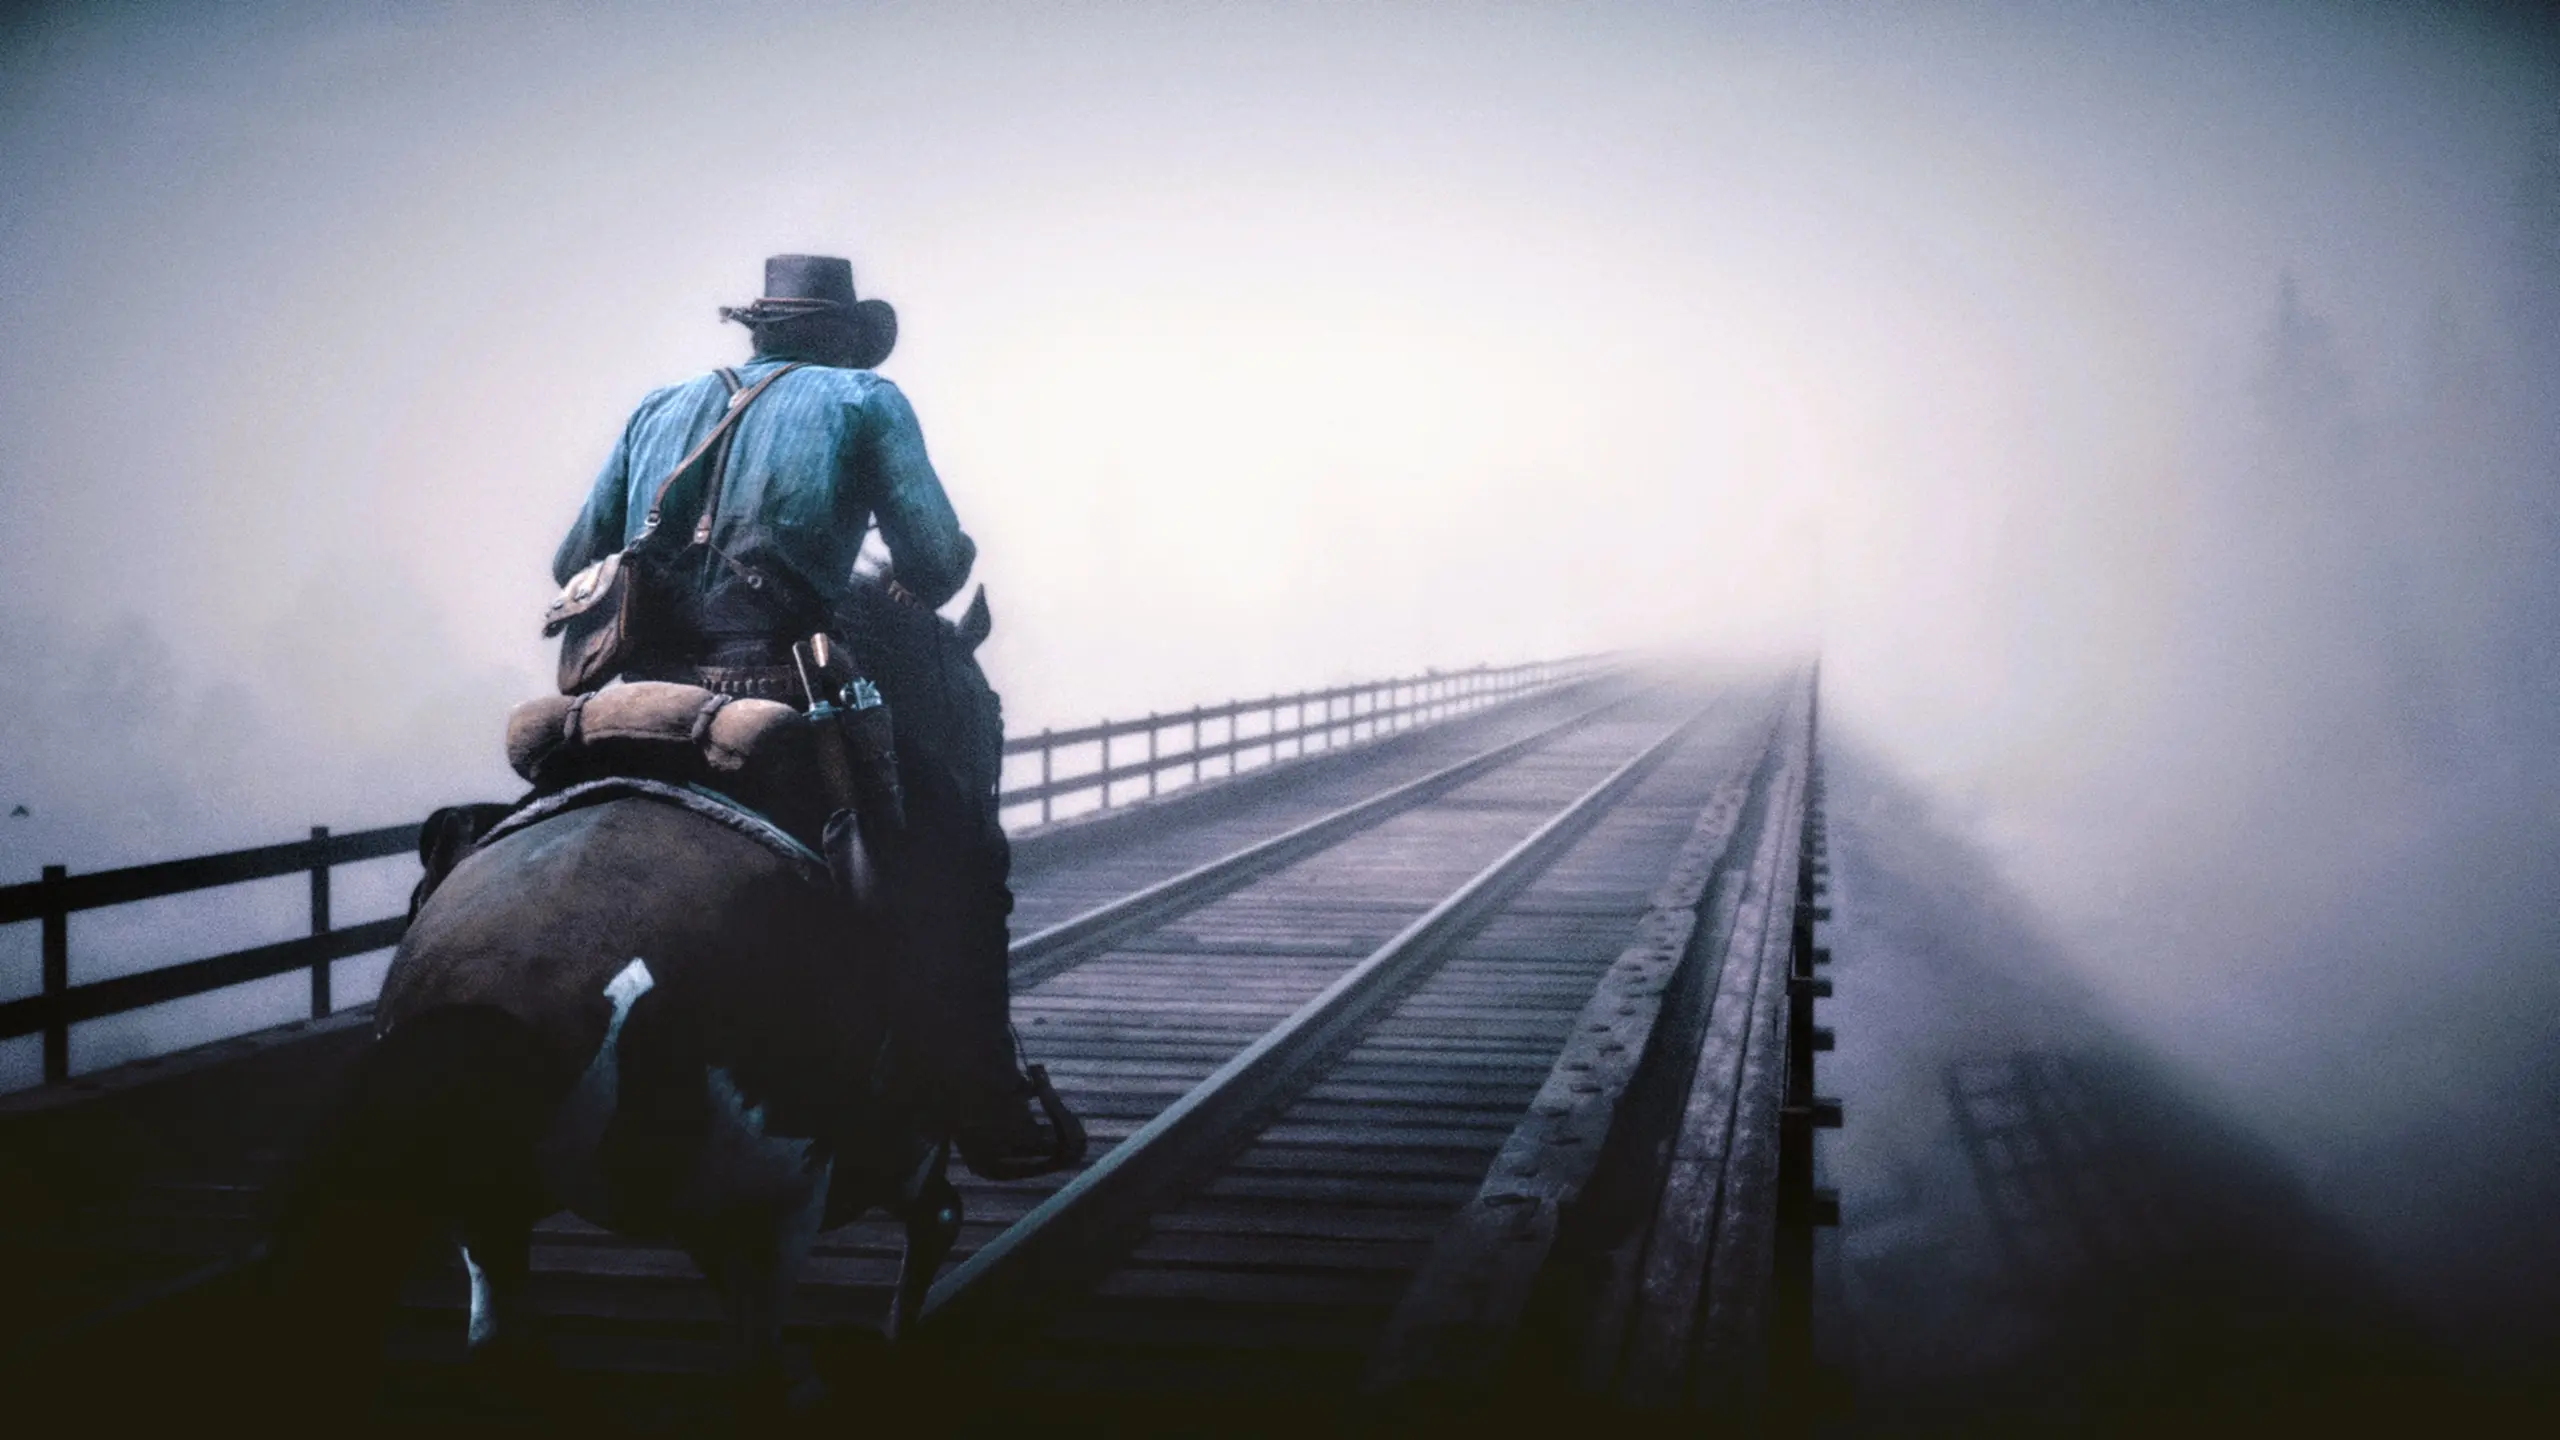
Into the fog
Posted on
12th April 2022
🎮
Part of
Red Dead Redemption 2
Looking Up
Posted on
6th April 2022
🎮
Part of
Horizon Forbidden West
Reached Level 30
Posted on
18th March 2022
🎮
Part of
Notes
Reached Level 20
Posted on
28th February 2022
🎮
Part of
Notes
Previous Page
1
…
26
27
28
29
30
31
32
33
34
35
36
…
209
Next Page