Tag: Own Your Data

  • 📂 ,

    Using docker and docker compose for my Homelab

    I’ve seen some very elaborate homelab set-ups online but wanted to get the easiest possible implementation I could, within my current skill set.

    As I have quite a lot of experience with using docker for development in my day to day work, I thought I’d just try using docker compose to setup my homelab service

    What is docker?

    Docker is a piece of software that allows you to package up your services / apps in to “containers”, along with any dependencies that they need to run.

    What this means for you, is that you can define all of the things you need to make your specific app work in a configuration file, called a Dockerfile. When the container is then built, it builds it with all of the dependencies that you specify.

    This is opposed to the older way of setting up a service / app /website, by installing the required dependencies manually on the host server itself.

    By setting up services using docker (and its companion tool docker compose) You remove the need to install manual dependencies yourself.

    Not only that, but if different services that you install require different versions of the same dependencies, containers keep those different versions separate.

    Installing the docker tools

    I use the guide for ubuntu on the official docker website.

    Once docker and docker compose are installed on the server, I can then use a single configuration file for each of the services I want to put into my Home Lab. This means I don’t need to worry about the dependencies that those services need to work — because they are in their own containers, they are self-contained and need nothing to be added to the host system.

    There are services that can help you manage docker too. But that was one step too far outside of my comfort zone for what I want to get working right now.

    I will, however, be installing a service called “Portainer”, detailed in my next Home Lab post, which gives you a UI in which to look at the docker services you have running.


  • 📂 ,

    Setting up mine, and my family’s, Homelab

    I’ve opted for what I believe is the easiest, and cheapest, method of setting up my Homelab.

    I’m using my old work PC which has the following spec:

    • Quad core processor — i7, I think.
    • 16gb of RAM
    • 440GB ssd storage (2x 220gb in an LVM setup)
    • A USB plug-in network adapter (really want to upgrade to an internal one though)

    My Homelab Goals

    My homelab goals are centered around two fundamental tenets: lower cost for online services and privacy.

    I want to be:

    • Hosting my own personal media backups: All my personal photos and videos I want stored in my own installation of Nextcloud. Along with those I want to also utilize its organizational apps too: calendar; todos; project planning; contacts.
    • Hosting my own music collection: despite hating everything Google stands for, I do enjoy using its Youtube Music service. However, I have many CDs (yes, CDs) in the loft and don’t like the idea of essentially renting access to music. Plus it would be nice to streaming music to offline smart speakers (i.e. not Alexa; Google Speaker; et al.)
    • Hosting old DVD films: I have lots of DVDs in the loft and would like to be able to watch them (without having to buy a new DVD player)
    • Learning more about networking: configuring my own network is enjoyable to me and is something I want to increase my knowledge in. Hosting my own services for my family and myself is a great way to do this.
    • Teach my Son how to own and control his own digital identity (he’s 7 months old): I want my Son to be armed with the knowledge of modern day digital existence and the privacy nightmares that engulf 95% of the web. And I want Him to have the knowledge and ability to be able to control his own data and identity, should He wish to when he’s older.

    Documenting my journey

    I will be documenting my Homelab journey as best as I can, and will tag all of these posts with the category of Homelab.


  • 📂

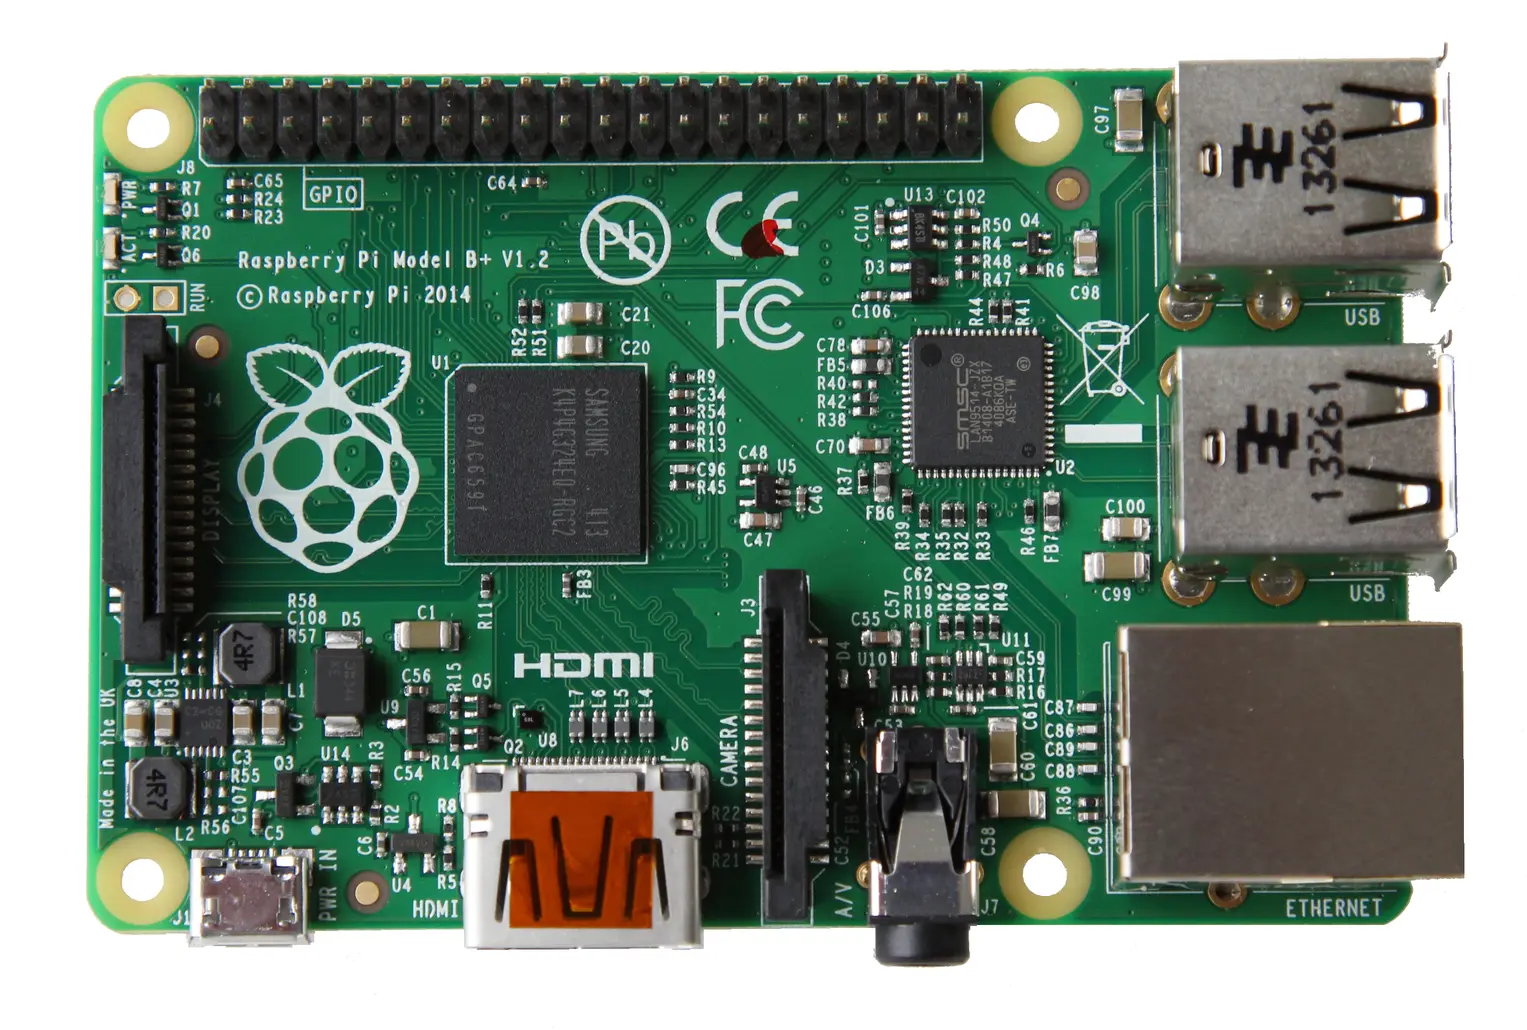
    I’m now running pi-hole through my Raspberry Pi 2b.

    It’s both amazing and depressing just how many trackers are being blocked by it. I even noticed a regular ping being made to an Amazon endpoint exactly every 10 minutes.

    I will try and write up my set up soon, which is a mix of setting up the Raspberry Pi and configuring my home router.


    I’ve also managed to finally get a home server running again – using Ubuntu Server LTS.

    My plan on my server is to just install services I want to self-host using docker. Docker being the only program I’ve installed on the machine itself.

    So far I have installed the following:

    • Home Assistant — On initial playing with this I have decided that it’s incredible. Connected to my LG TV and lets me control it from the app / laptop.
    • Portainer — A graphical way to interact with my docker containers on the server.

  • 📂

    So you’re new to the Internet?

    If you’re new to the internet, allow me to give you a brief explanation.

    The “Internet” is series of connected networks across the world that form bigger networks. A network is a series of connected things (computers and routers in the case of the internet).

    The world wide web (www) sits on top of the internet (as does email and other things too) The world wide web is what a lot of people are referring to when they talk about the internet.

    Most of the web now is basically a bog of surveillance advertising. Where pretty much all of your interactions on the web — and often email now too — are being tracked by companies looking to make money off knowing exactly what you get up to online.

    It’s an absolute fucking disgrace.

    The world wide web could have been such a beautiful thing — democratising publishing and giving everyone an equal voice. And for a while I think it was heading that way. But big technology companies grew out of this web, like spiders catching all the flies. These big companies then started merging and coalescing into the Googles, Facebooks and Twitters we now have.

    This is the world that has been born out of capitalist greed and the surveillance used to accrue wealth.

    There are some awesome people that are doing their best to create alternatives to all of the surveillance honeypots that take up the majority of bandwidth.

    People like Aral Balkan and Laura Kalbag at the Small Technology Foundation. They are building a viable alternative to the cancer of “big tech”.

    And Eugen, who created Mastodon — living proof that you don’t need millions in investment capital to build something for the web that gets used my thousands and thousands of people.

    We need more people building for the future of people, not corporations, and I want to be one of them.


  • 📂

    Taking my first steps with YunoHost (Y U No Host) for most of my online needs. After a couple of false starts it seems to be coming together.


  • 📂

    Moving my video share links to my own Peertube

    Peertube is a self-hosted alternative to YouTube and, to a lesser extent, Vimeo.

    I say lesser extent because I think Vimeo’s business model is very different from YouTube’s (Google inc’s).

    Whenever a YouTube video is shared on a web page, it is basically like a Trojan horse. Yes, it lets your visitors watch a video directly in your website, but it’s doing so much more behind the curtain.

    It is allowing your visitors to be tracked across the web. When a person lands on a web page that has a YouTube video embedded into it, they are seen and tracked by YouTube’s owners: Google inc.

    Please don’t do this.

    Moving to Peertube

    I am very technologically privileged in that I have the know-how to set up my own “peertube” site (an instance as they are called). So I am not saying that people should all use that.

    But do at least consider something like “Vimeo” as an alternative, or maybe even self-host the videos on your website if you have the available storage space.

    I am in the process of migrating videos in my older posts over to my own Peertube website (My Jams are already moved). If you notice any I have missed, please do let me know in comments below. 🙂

    I don’t want the few people who visit my site to be tracked whilst here. I want this to at least be a safe space from the surveillance and advertising swamp that is the modern web.


  • 📂

    Setting up my own Nextcloud (Version 16)

    Setting up your very own Nextcloud server from scratch. This has been tested with version 15 and 16 of the software. Any questions, please do contact me.

    Updated on: 24th June 2019

    Set up a new server (with Digital Ocean)

    If you don’t have an account already, head to Digital Ocean and create a new account. Of course, you can use any provider that you want to – I just happen to use them and so can only give experience from that.

    Login to your account.

    Setup your SSH key

    In the next step we will be creating your new droplet (server), and you will need an SSH Key to add to it. This allows for easy and secure access to your new droplet from your local computer, via your terminal1.

    If you are going to use the Digital Ocean console terminal, skip down to ‘Create the new “Droplet”‘, as you wont need an ssh key.

    Creating the key (if you haven’t already)

    If you haven’t generated an SSH key pair before, open a fresh terminal window and enter the following:

    ssh-keygen -t rsa

    Press enter through all of the defaults to complete the creation.

    Getting the contents of the public key

    Type this to display your new public key:

    cat ~/.ssh/id_rsa.pub

    This will give you a long string of text starting with ssh-rsa and ending with something like yourname@your-computer.

    Highlight the whole selection, including the start and end points mentioned, and right click and copy.

    When you are creating your droplet below, you can select the New SSH Key button and paste your public key into the box it gives you. You will also need to give the key a name when you add it in Digital Ocean, but you can name it anything.

    Then click the Add SSH Key and you’re done.

    Create the new “Droplet”

    Digital Ocean refers to each server as a droplet, going with the whole digital “ocean” theme.

    Head to Create > Droplets and click the “One-click apps” tab. Then choose the following options in the selection (Or your own custom selection – just take into account the monthly cost of each option):

    • LAMP on 18.04
    • $15/Month (2GB / 60GB / 3TB Transfer)
    • Enable backups (not necessary but recommended)
    • London (Choose your closest / preferred location)
    • Add your SSH key (see above)
    • Optionally rename the hostname to something more readable

    Once you have selected the above (or your own custom options) click create. After a few moments, your droplet will be ready to use.

    Set your DNS

    Got to your domain name provider, Hover in my case, and set up the subdomain for your nextcloud installation, using the I.P. address for your new droplet.

    I’m assuming that you already have your own domain name, perhaps for your personal website / blog. In which case we are adding a subdomain to that (so https://nextcloud.yourdomain.co.uk, for example).

    But there is nothing stopping you from buying a fresh domain and using it exclusively for your new Nextcloud (https://my-awesome-nextcloud.co.uk).

    I will be continuing this guide, assuming that you are using a subdomain.

    You will add it in the form of an A record. This is how I would add it in Hover:

    1. Select your own domain
    2. Choose edit > edit DNS
    3. Click Add A record on the DNS edit page
    4. Fill in the hostname as your desired subdomain for your Nextcloud. For example if you were having nextcloud.mydomain.co.uk, you would just enter nextcloud.
    5. Fill in the I.P. address as the I.P. address of your new Droplet in Digital Ocean.
    6. Click Add Record

    Configuring the server

    Install all the required programs for Nextcloud

    First ssh into your new server:

    ssh root@YOUR.IP.ADDRESS.HERE

    When we chose to install the LAMP option when setting up the droplet, it installed Linux, Apache2, MySQL and PHP. However, there are still some extra dependencies that Nextcloud needs to run.
    Let’s install those next:

    apt-get update
    
    apt-get install libapache2-mod-php7.2 php7.2-gd php7.2-json &&
    apt-get install php7.2-mysql php7.2-curl php7.2-mbstring &&
    apt-get install php7.2-common php7.2-intl php-imagick php7.2-xml &&
    apt-get install php7.2-zip php7.2-ldap php7.2-imap  php7.2-gmp &&
    apt-get install php7.2-apcu php7.2-redis php7.2-imagick ffmpeg unzip

    Download and install the Nextcloud codebase

    Please note that I am using version 15.0.0 in this example. However, when you read this you may have a new version available to you. I will try and keep this guide as up to date as possible.

    # Download the codebase and the "checksum" file.
    wget https://download.nextcloud.com/server/releases/nextcloud-15.0.0.zip
    wget https://download.nextcloud.com/server/releases/nextcloud-15.0.0.zip.sha256
    
    # Make sure that the codebase is genuine and hasn't been altered.
    sha256sum  -c nextcloud-15.0.0.zip.sha256 < nextcloud-15.0.0.zip
    
    # Move the unzipped codebase into the webserver directory.
    unzip nextcloud-15.0.0.zip
    cp -r nextcloud /var/www
    chown -R www-data:www-data /var/www/nextcloud

    Apache config example

    nano /etc/apache2/sites-available/000-default.conf

    An example apache config:

    <VirtualHost *:80>
            ServerAdmin mail@yourdomain.co.uk
            DocumentRoot /var/www/nextcloud
    
            <Directory /var/www/nextcloud/>
                Options Indexes FollowSymLinks
                AllowOverride All
                Require all granted
            </Directory>
    
            ErrorLog ${APACHE_LOG_DIR}/error.log
            CustomLog ${APACHE_LOG_DIR}/access.log combined
    
            <IfModule mod_dir.c>
                DirectoryIndex index.php index.pl index.cgi index.html index.xhtml index.htm
            </IfModule>
    
    RewriteEngine on
    RewriteCond %{SERVER_NAME} =nextcloud.yourdomain.co.uk
    RewriteRule ^ https://%{SERVER_NAME}%{REQUEST_URI} [END,NE,R=permanent]
    </VirtualHost>
    a2enmod rewrite && a2enmod headers && a2enmod env && 
    a2enmod dir && a2enmod mime && systemctl restart apache2

    A quick mysql fix

    In recent versions of MySQL, the way that the mysql root user connects to the database means that password authentication wont work. So firstly we need to alter that user to use password authentication.

    apt install mysql-server
    mysql
    
    # In the mysql mode
    ALTER USER 'root'@'localhost' IDENTIFIED WITH mysql_native_password BY 'your_secret_password';
    FLUSH PRIVILEGES;
    quit

    SSL with Let’s Encrypt

    apt install certbot
    certbot --apache -d nextcloud.yourdomain.co.uk

    You will then be asked some questions about your installation:

    • Email address (your… umm… email address :D)
    • Whether you agree to Lets Encrypt Terms of Service (Agree)
    • Whether to redirect HTTP traffic to HTTPS (choose Yes)

    Let’s Encrypt will handle the registering of the apache settings for you new ssl to work. It uses the server name you entered in the 000-default.conf file earlier.

    It will also create a new file that is used by Apache for the SSL. For me, this file was at /etc/apache2/sites-available/000-default-le-ssl.conf.

    First Login!

    Now go to https://nextcloud.yourdomain.co.uk and you should see your nice new shiny Nextcloud installation.

    Creating the admin account

    Fill in the fields for your desired name and password for the admin account. You can just use the admin account as your main account if you will be the only one using this Nextcloud. But you can give others access to this site with their own login details, if you wanted. But without the admin-level priviledges.

    For the database fields, enter root as the username. Then for the password, use the one that you set in the previous mysql command above. For the database name choose whatever name you wish, as the installation will create it for you.

    Click finish.

    After a few moments time, your nextcloud instance should present you with the landing screen along with the welcome popup. Go ahead and read it and you could even install the app for your devices as it will suggest.

    Finishing touches

    If you click the cog icon in the top right of your screen, followed by settings in its dropdown, you will come to the main settings area. In the left-hand column, beneath the heading “Administration”, you should see the link for “Overview”. Click it.

    Now you should see a bunch of security and setup warnings at the top of the page. This is nothing to worry about, it is simply telling you about some actions that are highly recommended to setup.

    We will do that now. 🙂

    The “Strict-Transport-Security” HTTP header is not set to at least “15552000” seconds. For enhanced security, it is recommended to enable HSTS as described in the security tips.

    All that is needed to fix this first one, is a quick edit to the apache config file that Let’s Encrypt created for the installation.

    nano /etc/apache2/sites-available/000-default-le-ssl.conf

    And then add this following three lines within the <VirtualHost *:443> tag.

    <IfModule mod_headers.c>
        Header always add Strict-Transport-Security "max-age=15768000; includeSubDomains; preload"
    </IfModule>

    And then reload apache:

    systemctl reload apache2

    Refreshing the settings page should see that warning disappear.

    No memory cache has been configured. To enhance performance, please configure a memcache, if available.

    Open up you Nextcloud config file:

    nano /var/www/nextcloud/config/config.php

    At the bottom of the config array, add the following line:

    'memcache.local' => '\OC\Memcache\APCu',

    Refresh your browser and that next warning should now vanish.

    For future reference, you can always take a look in the sample Nextcloud config file at /var/www/nextcloud/config/config.sample.php. It will show you all available config options.

    The PHP OPcache is not properly configured.

    With this warning, Nextcloud should display some sample opcache code to paste over. This one caught me out as I couldn’t work out which ini file this example code should go.

    After some trial and error, I discovered that for me, it was located in an opcache.ini file:

    nano /etc/php/7.2/mods-available/opcache.ini

    Then at the bottom of the file, I pasted the following:

    opcache.enable=1
    opcache.enable_cli=1
    opcache.interned_strings_buffer=8
    opcache.max_accelerated_files=10000
    opcache.memory_consumption=128
    opcache.save_comments=1
    opcache.revalidate_freq=1

    Reload apache:

    systemctl reload apache2

    Some columns in the database are missing a conversion to big int.

    I only actually came across this warning when I was creating a dummy Nextcloud installation for helping with writing this guide. You may not actually get it. But if you do, here’s the fix2:

    sudo -u www-data php /var/www/nextcloud/occ db:convert-filecache-bigint

    This will warn you that it could take hours to do its thing, depending on the number of files. However, due to us running it right after the installation, will not even take a second.

    The PHP memory limit is below the recommended value of 512MB

    To fix this, I just had to edit the following file:

    nano /etc/php/7.2/apache2/php.ini

    Then alter the next line to look like this:

    memory_limit = 512M

    Then restart apache:

    service apache2 restart

    All Done

    Once you refresh the settings page once more, you should see a beautiful green tick with the message “All checks passed”.

    Good feeling, isn’t it?

    If for any reason you are still getting warnings, please dont hesitate to contact me. I’ll do my best to help. Email: mail@davidpeach.me. Alternatively you can head to the Nextcloud Documentation.


  • 📂

    ownCloud – first thoughts

    I have just installed ownCloud on my laptop as a testing ground. I am soon to be buying a new computer off a friend and will be using my current one as a personal server.I decided to go with owncloud because it seems to do everything I need it to right out of the box. Cross device file syncing with as much storage as I have on my computer. All I had to do was install owncloud via the ubuntu terminal following these steps.I am starting using it on version 8.1 and first impressions are that it is very nice. It has a clean UI and straight forward settings controls. This is going to be a big step in me taking control of my own data and moving away from services like Google and Dropbox.The big job now will be to import all of my photos out of Google as well as re-downloading all of my music from google play music.


  • 📂

    Trying to get ownCloud installed tonight. Firstly having to install a fresh copy of Ubuntu.


  • 📂

    Going Alone and taking control of my data

    You see so many horror stories about companies such as Google, Twitter and Facebook. About how they use your data to whatever end they want. I heard a story once about how through facebook’s various smart algorythms, someone’s profile had inadvertantly been made an endorser for something inappropriate to their own mom!Now I’m not saying that these companies are super evil. Infact it is simply their business model to use you for the collection of data; to learn everything they can about you; to sell that information to their real customers – why do you think Google, Twitter and Facebook are all free?As Aral Balkan from Indie puts it: “you are the quarry being mined”Take Google for example. The services that they give you for free are great. They give us maps of every place in the world imaginable… every place; free photo storage; free document storage; free email. Great. But at what cost is free?I became aware of the importance of owning ones own data through reading about, and implementing several principles of, the IndieWeb. On top of this the work that Aral Balkan and his team have been doing at Indie has inspired me to take a more pro-active approach to my data.Like I said, I have already begun implementing several aspects of the IndieWeb: I write any potential tweets as notes on my own site first; I reply to other people’s tweets from my own site first.The next logical step for me is to move away from using Google for many of the things I currently use it for. This is quite a lot.EmailPhoto StorageDocument StorageCalenderBooksStreaming MusicMaps and its associated location trackingYoutubeSome of these I will still use. But many of them I will be finding other alternatives.EmailI have been using protonmail for about three months so far. And so far I really like it. Take a look at their security details to see why I have chosen them them to go with.Photo StorageWhen I take a photo on my Nexus device, it automatically gets synced to my google cloud storage. While I love the convenience of this, I’m going to be putting together an alternative where I will store my photos on a home server – with automatic backups – and the only ones online will be ones that I upload to my website. As with my syndication of notes/tweets, I may syndicate images out with notes that I make.Document StorageAs with photos, I will be looking to store any digital documents on a home server.CalendarI am yet to look into this. Although I very rarely use any form of calendar, it may be nice to have a personal one. I may decide to build my own – possibly incorporating it as a secret area of my website.BooksStart buying physical books again as opposed to digital downloads. That’s a pretty easy one.Streaming and Storage of digital musicThis is one thing that I wont be changing. I love how I can have all of my owned albums digital stored in the cloud. On top of this I also love how I can pay eight pounds a month and get unlimited streaming and download of countless artists and albums. Many of the artists I now listen to have come as a direct result of just randomly picking an album to listen to.MapsGoogle maps is probably way out there in front of its other competitors. However I love the idea of Open Street Map. So this may be my alternative in the near future.YoutubeI will continue to use youtube as normal as it now comes with features exclusive to Google Play: All Access customers.