Tag: homelab

  • ๐Ÿ“‚

    Backing up Docker volume data to Digital Ocean spaces with encryption

    Backups are a must for pretty much anything digital. And automating those backups make life so much easier for you, should you lose your data.

    My use case

    My own use case is to backup the data on my home server, since these are storing my music collection and my family’s photos and documents.

    All of the services on my home server are installed with Docker, with all of the data in separate Docker Volumes. This means I should only need to back those folders that get mounted into the containers, since the services themselves could be easily re-deployed.

    I also want this data to be encrypted, since I will be keeping both an offline local copy, as well as storing a copy in a third party cloud provider (Digital Ocean spaces).

    Setting up s3cmd

    S3cmd is a command line utility for interacting with an S3-compliant storage system.

    It will enable me to send a copy of my data to my Digital Ocean Spaces account, encrypting it before hand.

    Install s3cmd

    The official installation instructions for s3cmd can be found on the Github repository.

    For Arch Linux I used:

    Bash
    sudo pacman -S s3cmd

    And for my home server, which is running Ubuntu Server, I installed it via Python’s package manager, “pip”:

    Bash
    sudo pip install s3cmd

    Configuring s3cmd

    Once installed, the first step is to run through the configuration steps with this command:

    Bash
    s3cmd --configure

    Then answer the questions that is asks you.

    You’ll need these items to complete the steps:

    • Access Key (for digital ocean api)
    • Secret Key (for digital ocean api)
    • S3 endpoint (e.g. lon1.digitaloceanspaces.com)
    • DNS-style (I use %(bucket)s.ams3.digitaloceanspaces.com)
    • Encryption password (remember this as you’ll need it for whenever you need to decrypt your data)

    The other options should be fine as their default values.

    Your configuration will be stored as a plain text file at ~/.s3cmd. This includes that encryption password.

    Automation script for backing up docker volume data

    Since all of the data I actually care about on my server will be in directories that get mounted into docker containers, I only need to compress and encrypt those directories for backing up.

    If ever I need to re-install my server I can just start all of the fresh docker containers, then move my latest backups to the correct path on the new server.

    Here is my bash script that will archive, compress and push my data to backup over to Digital Ocean spaces (encrypting it via GPG before sending it).

    I have added comments above each section to try and make it more clear as to what each step is doing:

    Bash
    #!/usr/bin/bash
    
    ## Root directory where all my backups are kept.
    basepath="/home/david/backups"
    
    ## Variables for use below.
    appname="nextcloud"
    volume_from="nextcloud-aio-nextcloud"
    container_path="/mnt/ncdata"
    
    ## Ensure the backup folder for the service exists.
    mkdir -p "$basepath"/"$appname"
    
    ## Get current timestamp for backup naming.
    datetime=$(date +"%Y-%m-%d-%H-%M-%S")
    
    ## Start a new ubuntu container, mounting all the volumes from my nextcloud container 
    ## (I use Nextcloud All in One, so my Nextcloud service is called "nextcloud-aio-nextcloud")
    ## Also mount the local "$basepath"/"$appname" to the ubuntu container's "/backups" path.
    ## Once the ubuntu container starts it will run the tar command, creating the tar archive from 
    ## the contents of the "$container_path", which is from the Nextcloud volume I mounted with 
    ## the --volumes-from flag.
    docker run \
    --rm \ 
    --volumes-from "$volume_from" \
    -v "$basepath"/"$appname":/backups \
    ubuntu \
    tar cvzf /backups/"$appname"-data-"$datetime".tar.gz "$container_path"
    
    ## Now I use the s3cmd command to move that newly-created 
    ## backup tar archive to my Digital Ocean spaces.
    s3cmd -e put \
      "$basepath"/"$appname"/"$appname"-data-"$datetime".tar.gz \
      s3://scottie/"$appname"/
    

    Automating the backup with a cronjob

    Cron jobs are a way to automate any tasks you want to on a Linux system.

    You can have fine-grained control over how often you want to run a task.

    Although work with Linux’s cron scheduler is out of the context of this guide, I will share the setting I have for my Nextcloud backup, and a brief explanation of its configuration.

    The command to edit what cron jobs are running on a Linux system, Ubuntu in my case, is:

    Bash
    crontab -e

    This will open up a temporary file to edit, which will get written to the actual cron file when saved — provided it is syntactically correct.

    This is the setting I have in mine for my Nextcloud backup (it should all be on a single line):

    Bash
    10 3 * * 1,4 /home/david/backup-nextcloud >> /home/david/backups/backup-nextcloud.log

    The numbers and asterisks are telling cron when the given command should run:

    Plaintext
    10th minute
    3rd Hour
    * Day of month (not relevant here)
    * Month (not relevant here)
    1st,4th Day of the Week (Monday and Thursday)

    So my configuration there says it will run the /home/david/backup-nextcloud command every Monday and Thursday at 3:10am. It will then pipe the command’s output into my log file for my Nextcloud backups.

    Decrypting your backups

    Download the file from your Digital Ocean spaces account.

    Go into the directory it is downloaded to and run the file command on the archive:

    Bash
    # For example
    file nextcloud-data-2023-11-17-03-10-01.tar.gz
    
    # You should get something like the following feedback:
    nextcloud-data-2023-11-17-03-10-01.tar.gz: GPG symmetrically encrypted data (AES256 cipher)

    You can decrypt the archive with the following command:

    Bash
    gpg --decrypt nextcloud-data-2023-11-17-03-10-01.tar.gz > nextcloud-backup.tar.gz

    When you are prompted for a passphrase, enter the one you set up when configuring the s3cmd command previously.

    You can now extract the archive and see your data:

    Bash
    tar -xzvf nextcloud-backup.tar.gz

    The archive will be extracted into the current directory.


  • ๐Ÿ“‚ ,

    Using docker and docker compose for my Homelab

    I’ve seen some very elaborate homelab set-ups online but wanted to get the easiest possible implementation I could, within my current skill set.

    As I have quite a lot of experience with using docker for development in my day to day work, I thought I’d just try using docker compose to setup my homelab service

    What is docker?

    Docker is a piece of software that allows you to package up your services / apps in to “containers”, along with any dependencies that they need to run.

    What this means for you, is that you can define all of the things you need to make your specific app work in a configuration file, called a Dockerfile. When the container is then built, it builds it with all of the dependencies that you specify.

    This is opposed to the older way of setting up a service / app /website, by installing the required dependencies manually on the host server itself.

    By setting up services using docker (and its companion tool docker compose) You remove the need to install manual dependencies yourself.

    Not only that, but if different services that you install require different versions of the same dependencies, containers keep those different versions separate.

    Installing the docker tools

    I use the guide for ubuntu on the official docker website.

    Once docker and docker compose are installed on the server, I can then use a single configuration file for each of the services I want to put into my Home Lab. This means I don’t need to worry about the dependencies that those services need to work — because they are in their own containers, they are self-contained and need nothing to be added to the host system.

    There are services that can help you manage docker too. But that was one step too far outside of my comfort zone for what I want to get working right now.

    I will, however, be installing a service called “Portainer”, detailed in my next Home Lab post, which gives you a UI in which to look at the docker services you have running.


  • ๐Ÿ“‚

    Homelab initial setup

    I have gone with Ubuntu Server 22.04 LTS for my Homelab’s operating system.

    Most of the videos I’ve seen for Homelab-related guides and reviews tend to revolve around Proxmox and/or TrueNAS. I have no experience with either of those, but I do have experience with Docker, so I am opting to go with straight up docker — at least for now.

    Setting up the Operating system

    I’m using a Linux-based system and so instructions are based on this.

    Step 1: Download the Ubuntu Server iso image

    Head here to download your preferred version of Ubuntu Server. I chose the latest LTS version at the time of writing (22.04)

    Step 2: Create a bootable USB stick with the iso image you downloaded.

    Once downloaded, insert and a usb stick to install the Ubuntu Server iso on to.

    Firstly, check where your USB stick is on your filesystem. For that, I use fdisk:

    Bash
    sudo fdisk -l

    Assuming the USB stick is located at “/dev/sdb“, I use the dd command to create my bootable USB (please check and double check where your USB is mounted on your system):

    Bash
    sudo dd bs=4M if=/path/to/Ubuntu-Server-22-04.iso of=/dev/sdb status=progress oflag=sync

    Step 3: Insert and boot to the bootable USB stick into the Homelab computer

    Boot the computer that you’re using for your server, using the USB stick as a temporary boot device.

    Step 4: Install the operating system

    Follow the steps that the set up guide gives you.

    As an aside, I set my server ssd drive up with the “LVM” option. This has helped immensely this week, as I have added a second drive and doubled my capacity to 440GB.

    Step 5: install and enable ssh remote access

    I can’t remember if ssh came installed or enabled, but you can install openssh and then enable the sshd service.

    You can then connect to the server from a device on your network with:

    Bash
    ssh username@192.168.0.77

    This assumes your server’s IP address is 192.168.0.77. Chances are very high it’ll be a different number (although the 192.168.0 section may be correct.

    Everything else done remotely

    I have an external keyboard in case I ever need to plug in to my server. However, now I have ssh enabled, I tend to just connect from my laptop using the ssh command show just above.


  • ๐Ÿ“‚ ,

    Setting up mine, and my family’s, Homelab

    I’ve opted for what I believe is the easiest, and cheapest, method of setting up my Homelab.

    I’m using my old work PC which has the following spec:

    • Quad core processor — i7, I think.
    • 16gb of RAM
    • 440GB ssd storage (2x 220gb in an LVM setup)
    • A USB plug-in network adapter (really want to upgrade to an internal one though)

    My Homelab Goals

    My homelab goals are centered around two fundamental tenets: lower cost for online services and privacy.

    I want to be:

    • Hosting my own personal media backups: All my personal photos and videos I want stored in my own installation of Nextcloud. Along with those I want to also utilize its organizational apps too: calendar; todos; project planning; contacts.
    • Hosting my own music collection: despite hating everything Google stands for, I do enjoy using its Youtube Music service. However, I have many CDs (yes, CDs) in the loft and don’t like the idea of essentially renting access to music. Plus it would be nice to streaming music to offline smart speakers (i.e. not Alexa; Google Speaker; et al.)
    • Hosting old DVD films: I have lots of DVDs in the loft and would like to be able to watch them (without having to buy a new DVD player)
    • Learning more about networking: configuring my own network is enjoyable to me and is something I want to increase my knowledge in. Hosting my own services for my family and myself is a great way to do this.
    • Teach my Son how to own and control his own digital identity (he’s 7 months old): I want my Son to be armed with the knowledge of modern day digital existence and the privacy nightmares that engulf 95% of the web. And I want Him to have the knowledge and ability to be able to control his own data and identity, should He wish to when he’s older.

    Documenting my journey

    I will be documenting my Homelab journey as best as I can, and will tag all of these posts with the category of Homelab.


  • ๐Ÿ“‚

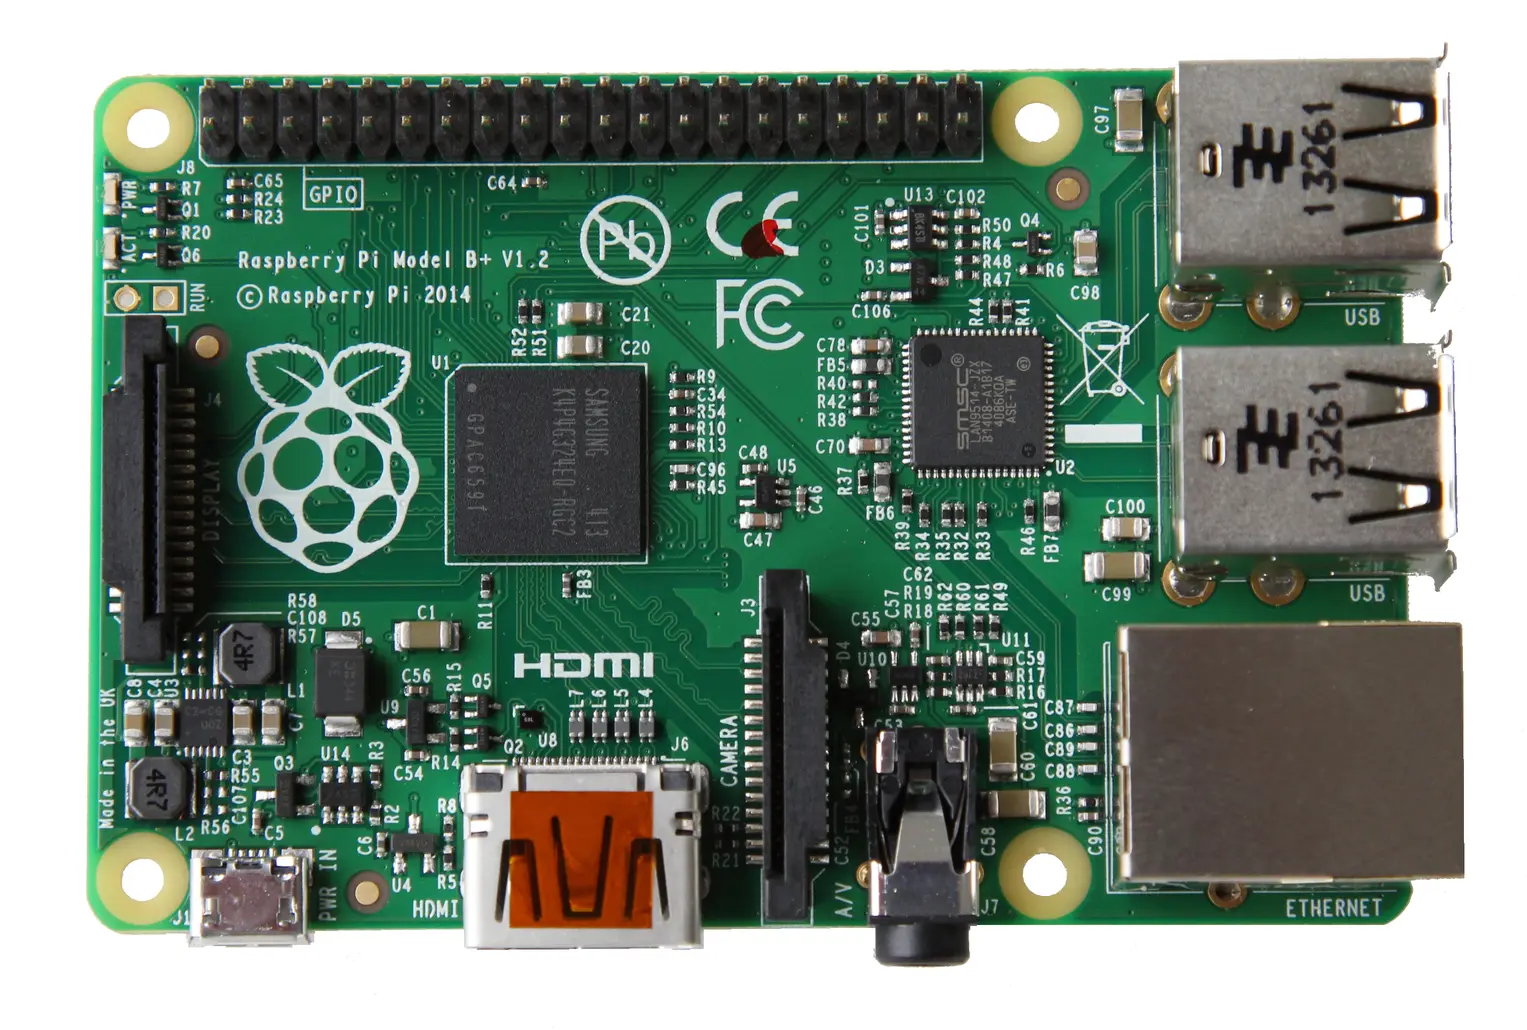
    I’m now running pi-hole through my Raspberry Pi 2b.

    It’s both amazing and depressing just how many trackers are being blocked by it. I even noticed a regular ping being made to an Amazon endpoint exactly every 10 minutes.

    I will try and write up my set up soon, which is a mix of setting up the Raspberry Pi and configuring my home router.


    I’ve also managed to finally get a home server running again – using Ubuntu Server LTS.

    My plan on my server is to just install services I want to self-host using docker. Docker being the only program I’ve installed on the machine itself.

    So far I have installed the following:

    • Home Assistant — On initial playing with this I have decided that it’s incredible. Connected to my LG TV and lets me control it from the app / laptop.
    • Portainer — A graphical way to interact with my docker containers on the server.

  • ๐Ÿ“‚ ,

    I have decided to get back into tinkering with my Raspberry Pi.

    I will be blogging my journey as I stumble through my initial playing, through to building out my first proper homelab.

    This first Raspberry Pi (model 2b) will be initially used as both a wireguard VPN server and a local DNS server.